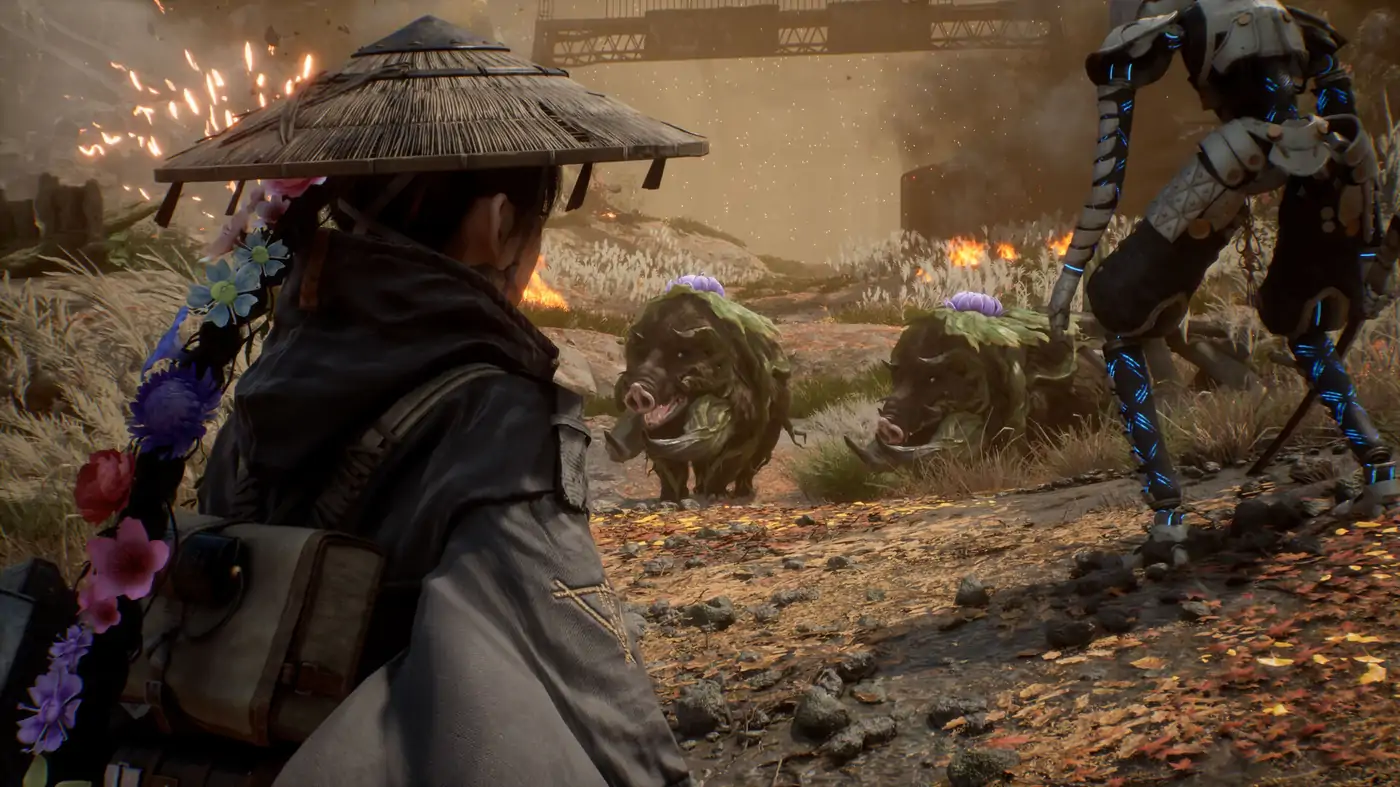
Beast of Reincarnation Blighted Boar: Combat Guide
Beast of Reincarnation blighted boar combat guide: read weakness icons, manage groups, build stagger and use Koo's Bloom Arts without guessing drops.
This Beast of Reincarnation blighted boar guide is written for the released game. The useful answer is not a made-up drop table: the public game information does not provide a separate bestiary record for the boar-like fauna shown in the artwork. Instead, use the live combat UI to identify the target’s weakness and handle the group safely.
Read the target before spending Koo’s FP
Select one enemy and read the icon beside its HP bar. Then open Koo’s Bloom Arts menu and look for the visible weak marker. The matching art is the one to test first; the creature’s colour or plant growth is not a reliable substitute for the on-screen weakness indicator.
The released combat rules give you four damage-over-time elements — poison, acid, flame and lightning — plus Destructive utility for shields and Bind utility for movement control. Those are system rules, not proof that every boar-like enemy is weak to flame. Confirm the icon on the target in your current encounter.
How to handle a blighted boar group
Boar-like enemies are most dangerous when Emma is surrounded. Use this order:
- Choose one target. Keep the camera and HP bar on the enemy whose attack is about to land.
- Parry ordinary attacks. A correctly timed parry prevents the hit, fills the yellow stagger bar and feeds Emma’s entanglement and Koo’s florescence points.
- Dodge red attacks. A red attack is not a guard/parry check. Move shortly before impact, then take the counterattack opening.
- Use Bind when the group closes in. A control opening is more valuable than holding guard until the entanglement gauge is empty.
- Execute only ordinary enemies that can be stunned. Powerful enemies and Nushi use a daze opening instead of the normal execution prompt.
For the exact parry, guard and red-attack distinction, continue with the Beast of Reincarnation parry and dodge guide.
Build a repeatable weakness check
When a group includes more than one enemy type, avoid testing all of them at once. Record the selected target, the visible weakness icon, the Bloom Art that displays weak, and the yellow-bar movement after the same attack. Repeat the check on the same enemy type after a patch or difficulty change.
This gives you a useful live answer without inventing hidden percentages. A single missed QTE, a mod trigger or another enemy’s hit can make an otherwise identical attempt look different.
What this page does not claim
No fixed boar spawn clock, unique boar name, guaranteed drop, fire multiplier or night-only variant is stated here. If your current build shows a named entry or a drop, record the exact in-game text and version before treating it as a permanent bestiary fact.
For region collectibles and return routes, use the Beast of Reincarnation chapter checklist. For the wider elemental system, see the weakness, stagger and daze guide.
Need confirmed facts instead?
For release date, combat pillars, pricing, and PC specs, start with the official game info page. Editorial rules are on the disclaimer.