Beast of Reincarnation Elements, Weakness, Stagger & Daze
How elemental weaknesses, Destructive and Bind attacks, the yellow stagger bar, executions, and boss daze work in Beast of Reincarnation.
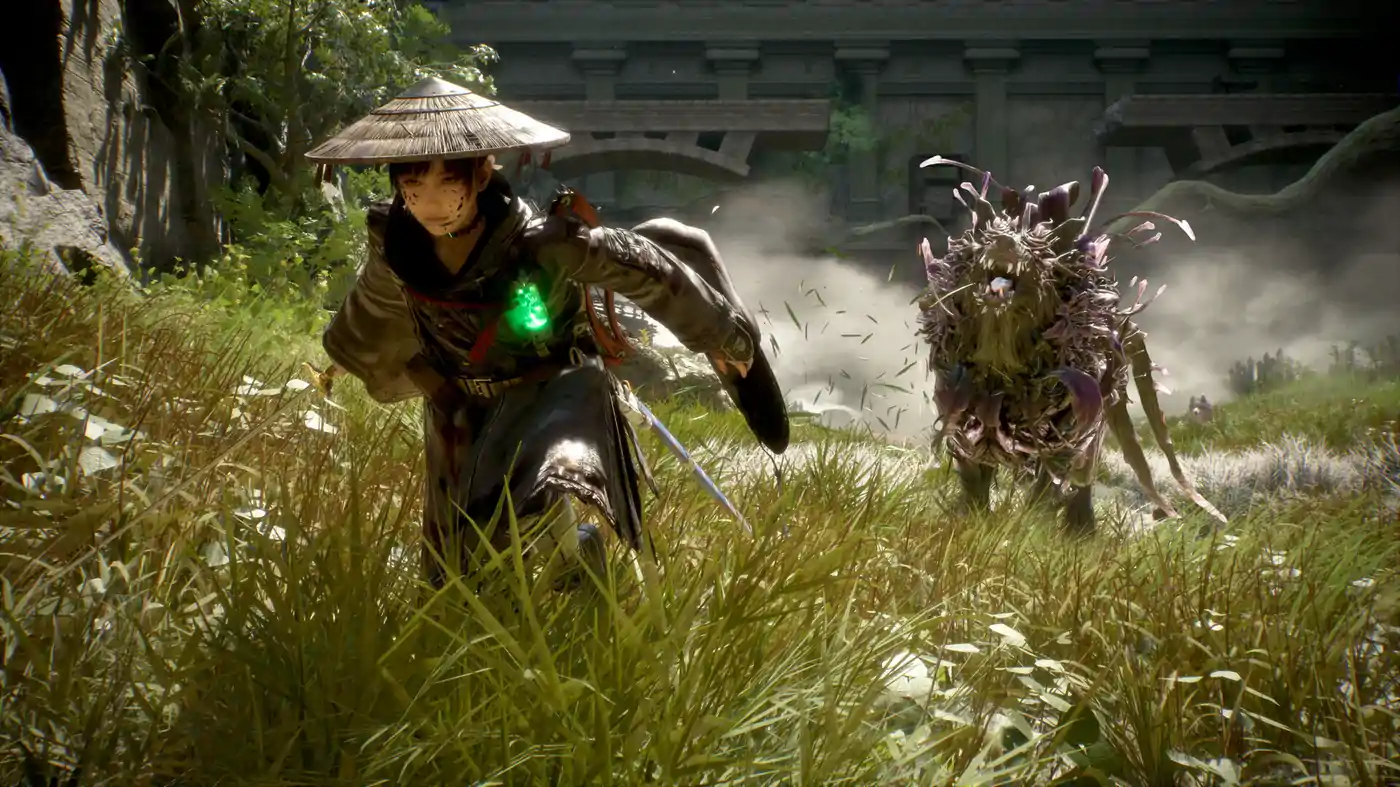
Beast of Reincarnation shows two different combat questions near an enemy’s health: what is it weak to, and how close is it to being staggered? The first decides which element or utility type to bring. The second decides whether pressure will lead to an execution or only a short daze.
This page follows Polygon’s launch combat guide for the shipped game. It does not assign invented weakness percentages, status buildup values, shield health, or stagger thresholds.
The confirmed damage and utility vocabulary
Polygon reports four elemental effects that cause damage over time:
| Element | Confirmed role |
|---|---|
| Poison | Damage-over-time elemental effect |
| Acid | Damage-over-time elemental effect |
| Flame | Damage-over-time elemental effect |
| Lightning | Damage-over-time elemental effect |
Two additional labels describe utility rather than another elemental damage-over-time effect:
- Destructive attacks can break enemy shields.
- Bind attacks can control enemy movement.
Do not collapse all six labels into one element chart. If an enemy is protected by a shield, Destructive utility can matter even when a different icon is shown as its elemental weakness. If movement is the danger, Bind can create control without being described as a damage-over-time element.
For how to spend Koo’s FP on the matching technique, see the Koo Bloom Arts, FP and QTE guide.
Where the game shows weakness
The enemy’s weakness is displayed next to its HP bar. Polygon also reports a second confirmation inside Koo’s Bloom Art menu: the word weak appears over an attack that matches the current target.
That gives you a reliable two-step check:
- Read the icon beside the target’s health.
- Open Koo’s slowed-time menu and look for the visible
weaklabel.
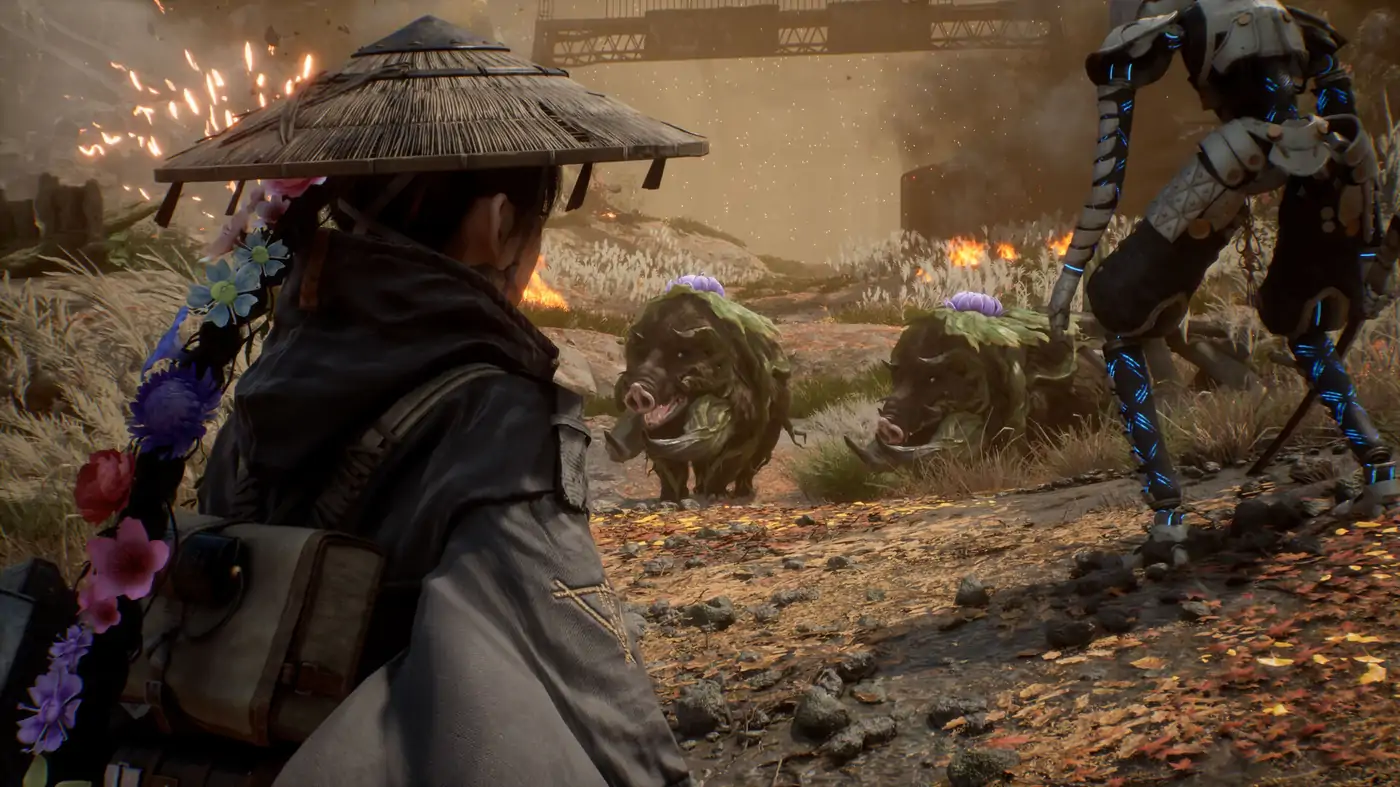
This is more dependable than guessing from an enemy’s color, region, or body type. A plant-covered creature may look flammable, but the UI is the shipped game’s direct statement about the selected target.
Match the element and the mod trigger
Polygon gives one concrete shipped-game example: the flame-based Higanbana Bloom Art can inflict burn, and the Rapid Cooling mod recovers an entanglement point when it hits a burned enemy.
That example shows the decision pattern:
- First choose an attack that matches the visible weakness.
- Then check whether its equipped mod asks for a status the attack can actually create.
- Finally decide whether the secondary reward, such as entanglement recovery, is useful in the current fight.
It does not prove that Higanbana and Rapid Cooling are the best answer everywhere. The value comes from the explicit interaction between a flame art, burn, and a mod that reads the burned state.
The yellow bar is stagger, not health
Below the red HP bar is a yellow stagger bar. Polygon reports that successful hits and successful parries fill it.
For an enemy that can be stunned, filling the bar has two effects:
- The enemy is stunned for a few seconds.
- Pressing the attack button during the prompt performs an execution that kills that opponent with a finishing move.
This makes parry both defensive and offensive. A correct parry prevents damage, feeds Emma and Koo’s resources, and also advances the target toward a stagger result. The parry, guard, dodge and controls guide covers the input and the yellow sword confirmation.
Powerful enemies and Nushi are dazed instead
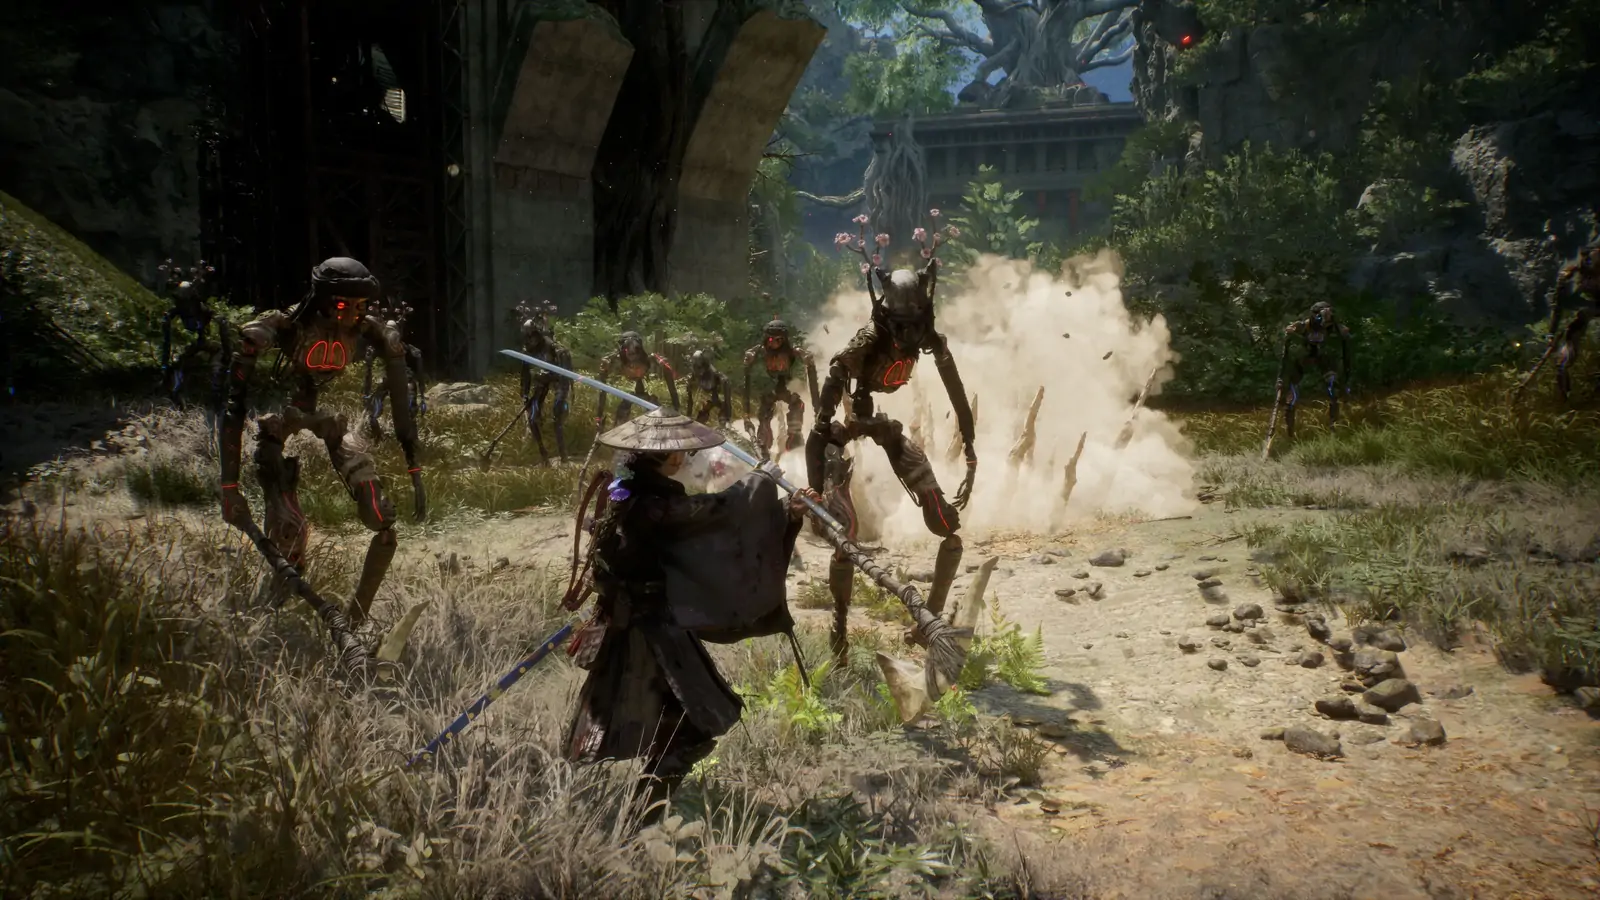
The same full yellow bar does not produce the same finish on every opponent. Polygon states that the most powerful enemies, including Nushi, cannot be stunned in the normal execution sense.
Instead, a full stagger bar dazes them:
- They are incapacitated for a few seconds.
- No execution prompt appears.
- The opening is for ordinary damage, healing, repositioning, or setting up the next action.
Do not wait for a one-hit execution prompt on a Nushi. The useful result is the temporary opening. The Rangifer Nushi guide applies the larger combat loop to the first confirmed boss without claiming that stagger skips its health bars.
Full Bloom can increase stagger pressure
Polygon reports that using a Bloom Art with full FP gives Koo Full Bloom, including +50% stagger and +100% damage for that use. Those values are cited from the launch guide, not independently measured here.
This supports a straightforward choice: if a dangerous target’s yellow bar is close to full and Koo has full FP, a matching Bloom Art can be used to push toward the stun or daze window. It does not establish an exact number of casts because enemy thresholds, art values, mods, and difficulty are not documented in the sources used here.
How to test an element without invented numbers
When the game or a patch changes a build, use visible results instead of unsourced percentages:
- Choose one repeatable enemy type. Do not compare two species with different health and defenses.
- Record the weakness icon beside its HP bar. A screenshot is enough.
- Open Koo’s menu and confirm the
weaklabel. If it is absent, do not call the art a matching weakness. - Use the same art and hit the QTE consistently. A missed prompt produces a weaker result and ruins the comparison.
- Watch for the named status and the yellow stagger movement. Record what the UI shows rather than estimating a hidden value.
- Repeat on the same enemy type. One attempt can be distorted by a critical hit, mod trigger, or another combatant.
This method can confirm behavior visible in your build. It still cannot produce a trustworthy damage formula without controlled stats and a larger sample.
What remains unverified here
We do not claim exact status buildup, tick damage, duration, resistance values, shield health, bind duration, stagger thresholds, or a full weakness list for every enemy. The mechanics above were checked on 2026-08-06 against launch coverage and official combat material.
For the broader first-hours flow, including Walker upgrades and traversal, use the launch-day beginner guide.
Sources
- Polygon: Beast of Reincarnation combat guide - four elemental effects, Destructive and Bind roles, weakness UI, Higanbana/Rapid Cooling example, stagger bar, executions, Nushi daze, and Full Bloom values. Checked 2026-08-06.
- Official Steam announcement: New Combat Overview Trailer & Previews - first-party combat and progression overview context. Checked 2026-08-06.
- Beast of Reincarnation on Steam - official description of the one-person, one-dog hybrid combat system and customizable loadouts. Checked 2026-08-06.
Need confirmed facts instead?
For release date, combat pillars, pricing, and PC specs, start with the official game info page. Editorial rules are on the disclaimer.