Beast of Reincarnation Rangifer: Beating the First Nushi
How to beat Rangifer, the first Nushi in Beast of Reincarnation: fire weakness, the hair-bridge assassination opener, the red-glow antler combo, and both fights.
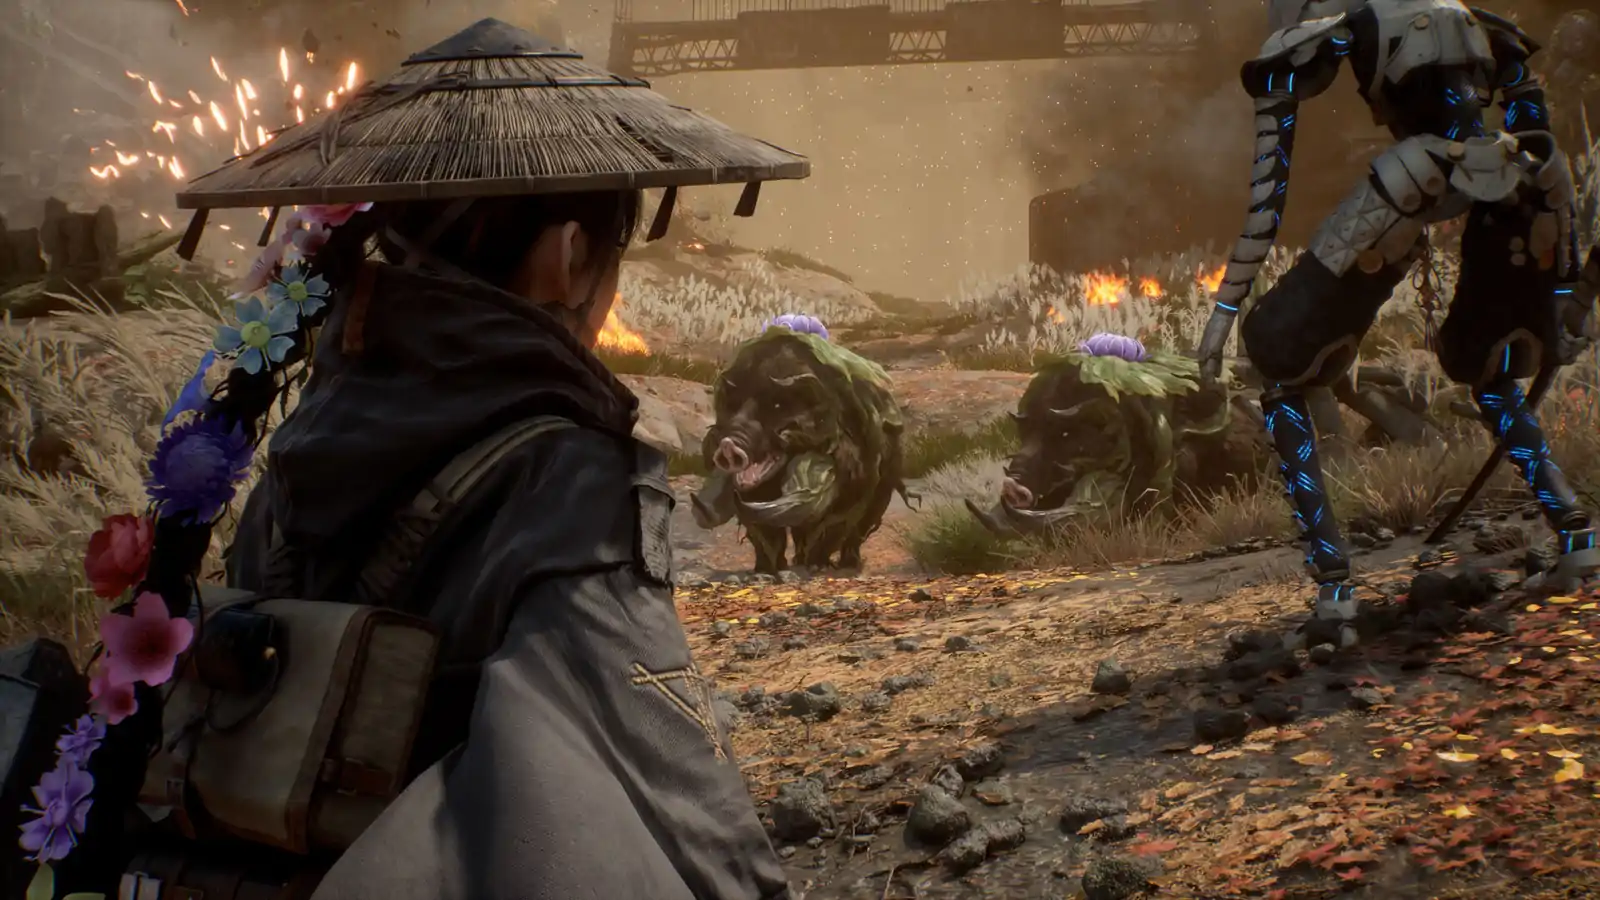
Beast of Reincarnation is out — it unlocked at 00:00 UTC on 4 August 2026 — so this page has been rewritten from post-launch coverage of the actual fight and no longer speculates about it. The Nushi are the game’s major bosses: powerful Malefect encounters, each ruling a region. The first one you meet is Rangifer, an enormous stag/plant hybrid.
The detail that shapes everything below: you fight Rangifer twice. The first time is part of the Prowling Nushi quest, in a crater. The second is in its sealed lair, where it is stronger and gains a second stage. The same tactics carry over, so treat fight one as a rehearsal for fight two.
If you have not read the systems primer yet, the beginner’s guide covers the parry-to-FP loop this fight leans on heavily.
Quick reference
| First fight (crater) | Second fight (lair) | |
|---|---|---|
| Boss level | 9 | 12 |
| Suggested player level | 6-7 | 10+ |
| Stages | One | Two — a second health bar appears |
| Weakness | Fire | Fire, but more resistant to the Burn status |
| Quest | Prowling Nushi | Opening its sealed lair |
Levels are the figures GamesRadar’s Rangifer guide reports; if the first attempt feels impossible, the fix is usually two or three levels rather than better execution. Kill nearby enemies for XP and come back.
Before you swing: take the arena’s camp
The centre of Rangifer’s first arena has a tall building with a campsite on top, plus armor up there. Unlock the camp before you commit to the fight. This is the general rule the launch coverage keeps repeating — most boss arenas have a campsite nearby for resting, saving and applying upgrades, and some are not obvious, so you do not want to discover it after a death with no checkpoint set.
Open with a free assassination
From that central camp, use Emma’s hair bridge (the Extend ability) to get above Rangifer, then jump down for an air assassination. GamesRadar reports this removes a huge chunk of its health immediately — which is a much better use of your opening seconds than walking in swinging.
Then, before it closes distance:
- Empty your ranged ammo. Rangifer is almost entirely melee-focused, so the bow and crossbow are close to free damage if you keep space. Use both.
- Stay elevated where you can. Most of Rangifer’s moveset hits downward, so height meaningfully degrades its ability to reach you. Practise making your own grapple points here even though phase one does not demand it — the second fight does.
Fire is the answer
Rangifer is weak to fire in both encounters. In practice that means:
- Koo’s Higanbana: Seeds — a spread of fiery projectiles that builds the burn status — is the single most valuable bloom art to bring, and GamesRadar rates it among the best skills in the game generally.
- For the rematch you can also pick up Fire Arrows from Brad back at the Cleanse Walker, giving Emma a fire option of her own.
- Caveat for fight two: Rangifer keeps the fire weakness but becomes more resistant to the Burn status effect, so lean on raw fire damage rather than assuming burn ticks will carry you.
Parry the antlers
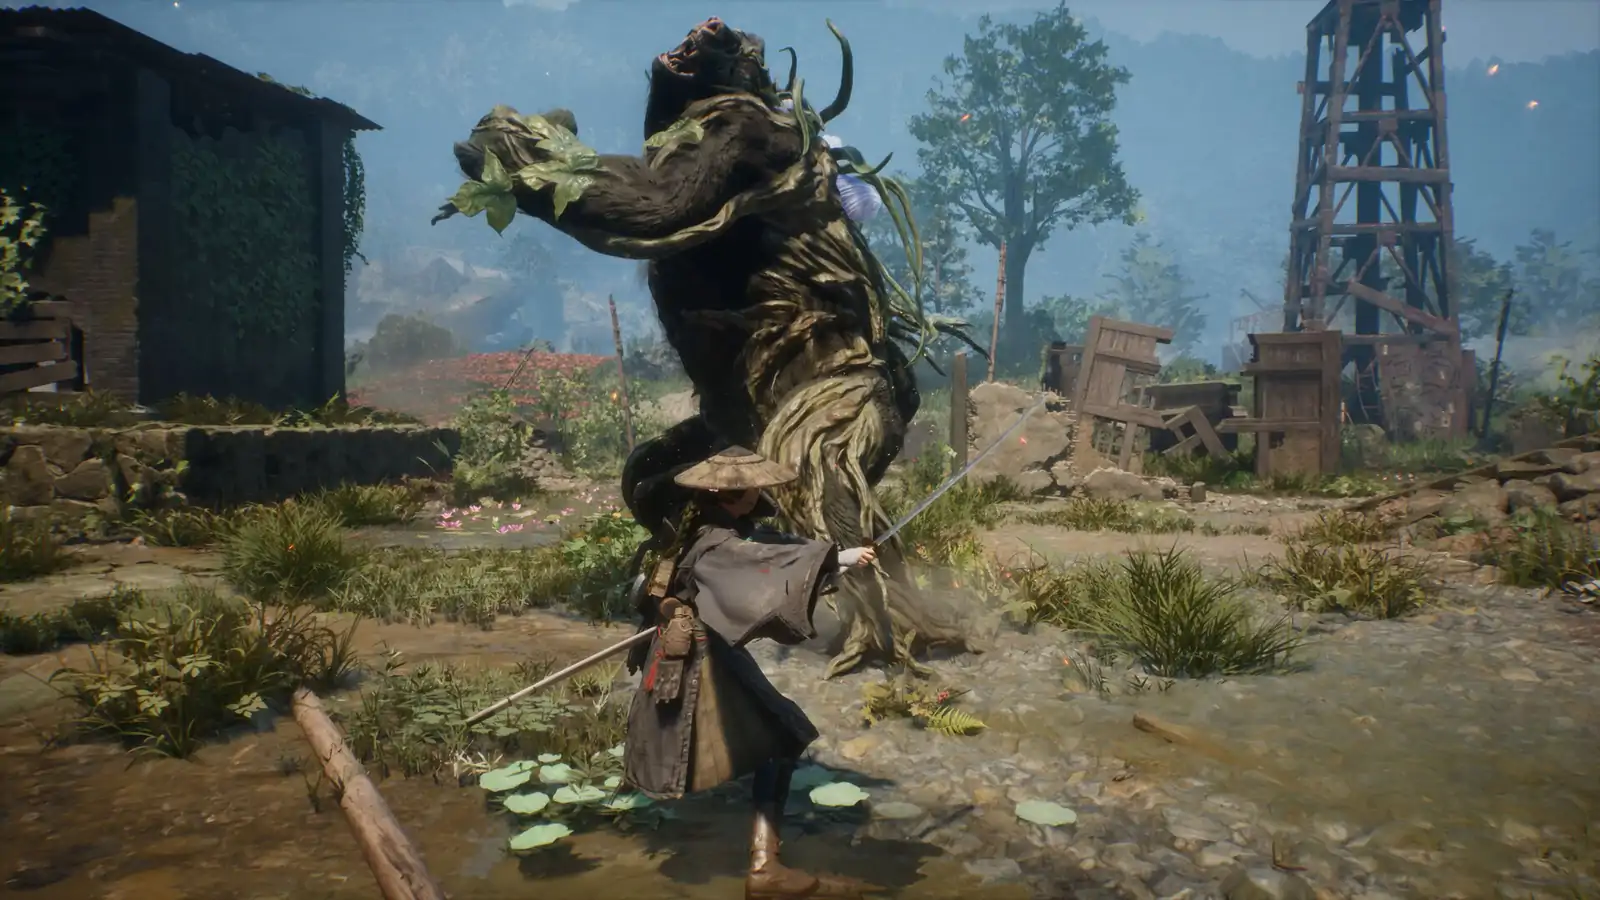
Rangifer’s most frequent attack is a swing of its antlers, and despite the creature’s size, this attack is parryable. Parry it deliberately, for two reasons: the parry builds Koo’s FP so you can keep casting fire, and the swing leaves Rangifer’s head lowered, which is your safest melee window in the whole fight.
That is the loop: parry the antlers, punish the lowered head, spend FP on fire, repeat.
The attacks that will kill you
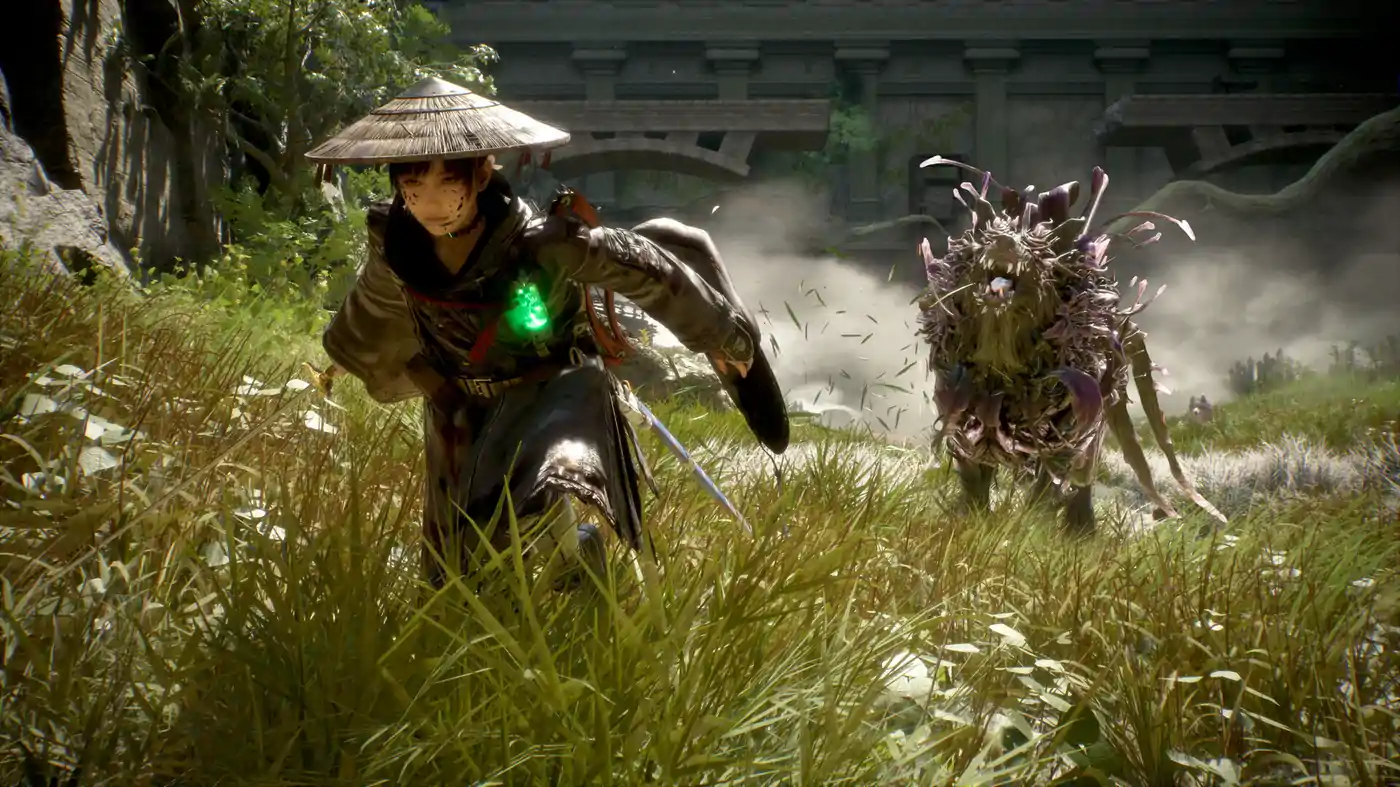
Red glow — the four-sweep combo. If Rangifer’s body takes on a red glow, it is about to perform four antler sweeps followed by a stomp. These are fast, hard to parry, and can take Emma from full health to dead. Do not try to trade. Your options, per GamesRadar: have Koo use a binding attack to interrupt it, escape using grapple points you made earlier, or evade out repeatedly.
The rear-and-stomp. If Rangifer rears up and stamps, it produces a small AOE impact with sharp roots rising from the ground. Clear space rather than standing at its feet.
Tree summon. If it backs away, yells, and slams its head into the ground, it is spawning trees erupting from the forest floor, telegraphed by red circles on the ground. Move off the markers.
Phase two turns its own attack into your mobility
In the lair fight, reducing Rangifer to zero health does not end it — it unlocks new abilities and a fresh health bar. The useful wrinkle: in phase two the summoned trees include non-damaging trees that last longer, and Emma can use them as grapple points. Several of Rangifer’s phase-two attacks are very hard to avoid on flat ground, so track where those trees appear and treat them as escape routes rather than scenery.
Between the two fights, upgrade your weapons. The rematch lasts considerably longer, and the gap gives you time to farm the Amber you need for it.
What you get for it
GameSpot’s beginner guide reports the first boss rewards the Sakura Storm skill, which releases a row of Sakura after four consecutive slashes and can be used to leap out of the way. We are flagging the attribution because that is a single outlet’s account rather than something on the store page.
Still unverified
We have not cleared this fight ourselves, and some things remain undocumented in the coverage above: exact HP values and phase-transition thresholds, the full drop table for either encounter, whether the crater fight is failable or scripted to a retreat, and how the numbers shift on Story or Hard difficulty. Those are the pieces to be sceptical about if you see them stated confidently.
For the systems this fight assumes — parrying into FP, bloom art QTEs, elemental matching, stagger versus daze on bosses that cannot be stunned — see the beginner’s guide. For officially confirmed game facts, the game info page.
Where these details come from
- GamesRadar+: how to beat Rangifer in Beast of Reincarnation — both encounters, levels, fire weakness, the camp and hair-bridge opener, Higanbana: Seeds, antler parry, red-glow combo, stomp and tree summon, phase-two grapple trees, Fire Arrows from Brad.
- GameSpot: Beast of Reincarnation tips and beginner’s guide — the Sakura Storm reward from the first boss.
- Steam announcement “Beast of Reincarnation is Available Now” (4 August 2026) — the 00:00 UTC unlock and version 1.0.6 launch build.
Need confirmed facts instead?
For release date, combat pillars, pricing, and PC specs, start with the official game info page. Editorial rules are on the disclaimer.