Beast of Reincarnation Beginner's Guide: The Systems That Matter First
How Beast of Reincarnation plays now it is out: why parrying feeds two separate bars, how Koo's bloom arts and QTEs work, and what to do in your first hours.
Beast of Reincarnation unlocked at 00:00 UTC on 4 August 2026 in every region, on the build Game Freak and Fictions labelled version 1.0.6. That means the guessing is over: the systems below are the ones in the shipped game.
This page is written from post-launch coverage by outlets that played the finished release, not from trailers — every non-obvious detail is attributed, and the sources are listed at the bottom. We have not personally cleared the game, so nothing here is presented as our own verified clear.
The one thing to learn first: parrying feeds everything
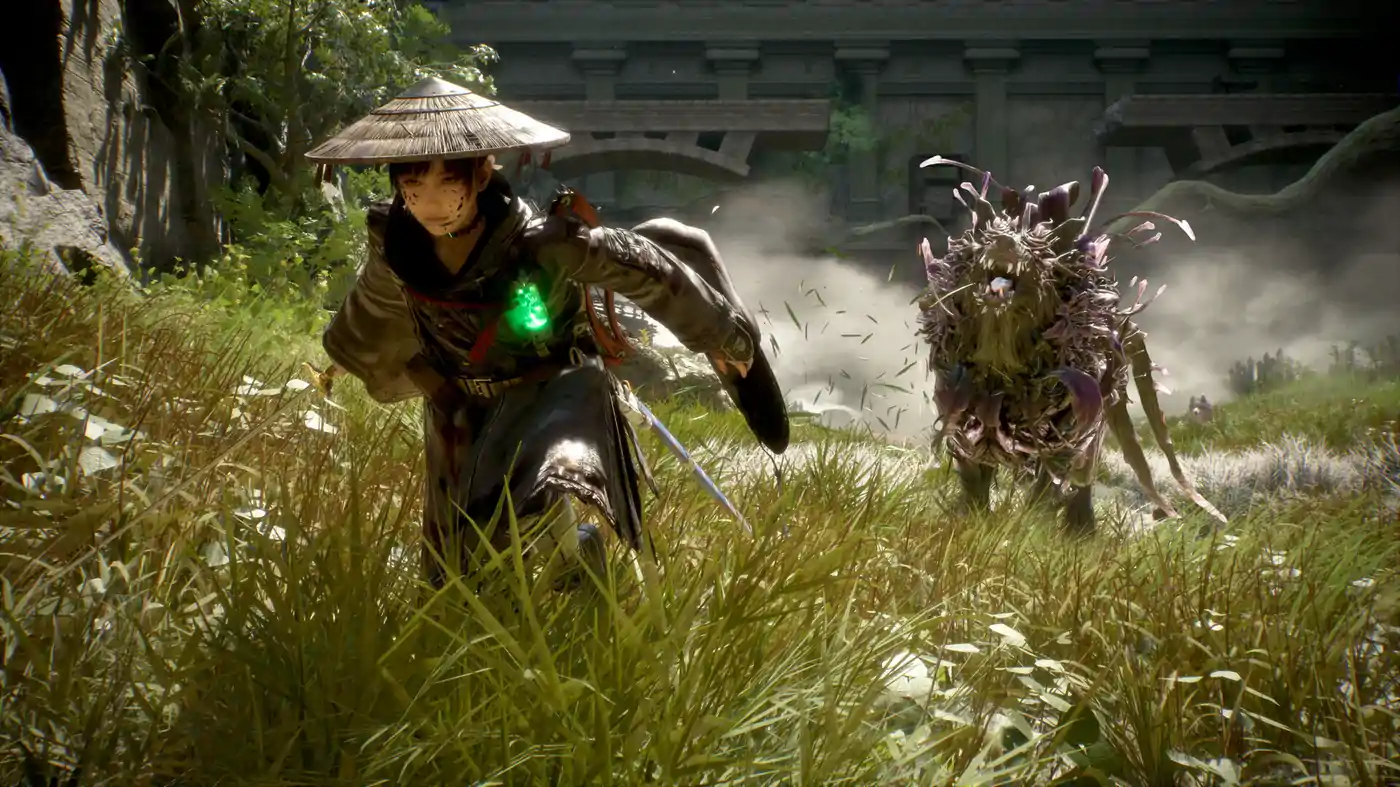
Parrying is not just a defensive option in Beast of Reincarnation — it is the resource engine the rest of the kit runs on. Per Polygon’s combat guide, a successful parry does four things at once:
- Negates the damage of the attack you parried.
- Grants florescence points (FP), the resource for Koo’s bloom arts.
- Grants entanglement points, needed to guard, to use blade arts and Nushi skills, and to trigger entanglement overdrive.
- Triggers your weapon’s effect on Emma’s blade.
The parry button is Q on PC and LB / L1 on a controller, pressed just before the attack lands. Press it too early and it degrades into an ordinary guard — the same button, a worse outcome. A successful parry makes Emma’s sword throw off yellow sparkles; a guard does not, which is the cleanest visual tell for whether your timing landed.
Guarding is a fallback, not a plan. It drains the entanglement gauge (the part-yellow, part-blue bar at the bottom of the screen), and once that bar is empty you take full damage even while holding guard. It also gives you no FP. After a successful parry, press attack for a riposte.
When an enemy flashes red as it winds up, the attack cannot be parried or guarded at all. Dodge instead — Ctrl on PC, B on Xbox, Circle on PlayStation — then press attack for a counterattack.
Two bars, two purposes — do not confuse them
New players routinely conflate these. They are separate resources that happen to share one source (parrying).
| Resource | Spent on | How it refills |
|---|---|---|
| Florescence points (FP) | Koo’s bloom arts | Successful parries, and Koo’s own skill use |
| Entanglement gauge | Guarding, Emma’s blade arts, Nushi skills, entanglement overdrive | Successful parries; the first chunk only also refills on its own |
That last detail matters: if you never parry successfully, FP stays empty, but Emma still regains one chunk of entanglement automatically. So a run built purely on dodging can still use cheap blade arts — it just locks Koo out of his best output.
Koo’s bloom arts, and the QTE nobody explains
Open Koo’s bloom arts menu with F on PC, Y on Xbox, or Triangle on PlayStation. Time slows while the menu is open but does not fully pause — this is the “turn-based” half of the hybrid combat Game Freak advertised. Bloom arts do things like fire projectiles at enemies or pull them toward you.
Every bloom art includes a quicktime event. Hit the button while the marker is inside the yellow arc and Koo deals maximum damage; miss it and the attack still happens, just weaker. Three consequences worth memorising:
- A successful QTE restores some of Emma’s HP. Bloom arts are a healing source, not only a damage source.
- A double QTE (two button presses) also returns some entanglement gauge to Emma.
- If FP is full, Koo gets the full bloom effect: +100% damage and +50% stagger.
You can chain different bloom arts back to back, but you cannot use the same bloom art twice in a row, so build a rotation rather than spamming a favourite.
Mods are the build layer. Each bloom art can take mods that add secondary effects — HP restoration, extra damage, and so on — bought and slotted from Koo’s skill tree. ScreenRant notes the trees specialise: the Incantation side leans into building status effects faster, while the Guard side supports Emma directly. You are not locked into one tree, and once you meet the relevant NPC a little way into the story you can respec Koo’s attributes and skills. Rest at a campsite or return to the Cleanse Walker to use the “acquire skills” menu.
For the complete input and timing sequence, continue with the Koo Bloom Arts, FP and QTE guide.
Outside of bloom arts you do not need to micromanage Koo — he uses his regular abilities on his own. Kotaku’s advice is worth repeating: when Koo peels off to fight something you were not targeting, let him. You can order an attack on an unaware enemy, with right mouse + middle mouse on PC or LT/L2 + right stick on a controller.
Emma’s blade arts and Nushi skills
Emma has two families of special attacks, both unlocked by story progress: blade arts and Nushi skills. Both are essentially melee combos, and both cost entanglement — you lose one “chunk” of the bar when you press the final input in the sequence. Only blade arts can be upgraded in Emma’s skill tree, and those points can be respecced.
To read the inputs, open the equipment menu and choose “view skills” at the bottom of Emma’s page. Do not try to learn the whole list at once. Polygon recommends starting with Shakuyaku and Climbing Higanbana, which need only one and two buttons respectively.
Stagger, daze, and free executions
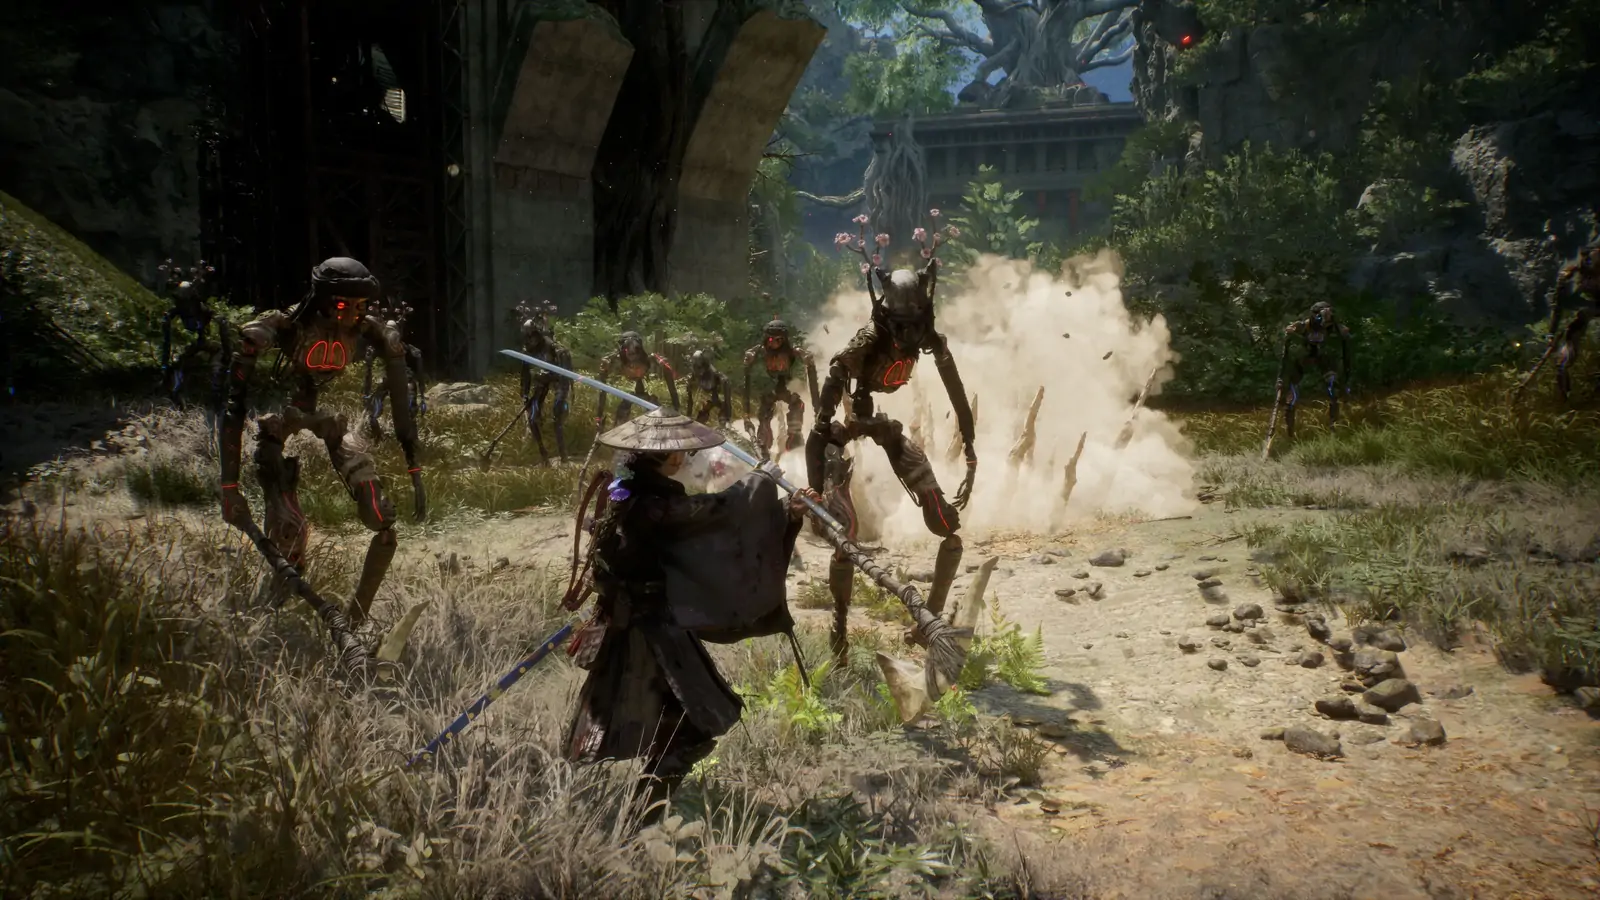
Under an enemy’s red HP bar is a yellow stagger bar that fills on every successful hit or parry. Fill it on a normal enemy and it is stunned for a few seconds — press attack for an execution that kills it outright, regardless of remaining HP. This is why aggressive parrying shortens fights so dramatically.
The exception: the game’s heavyweights, Nushi included, cannot be stunned. Filling their stagger bar dazes them instead — no execution prompt, but several seconds of free damage.
The focused elements, weakness, stagger and daze guide separates elemental matching from the yellow stagger bar and explains how to test both without invented values.
Elements, and matching Emma to Koo
There are four elemental effects — poison, acid, flame, lightning — all of which deal damage over time. Alongside them sit two utility damage types: destructive attacks break enemy shields, and bind attacks restrict movement.
An enemy’s weakness is displayed next to its HP bar. Open Koo’s bloom art menu and the word “weak” is stamped over any art that matches it, so you never have to guess mid-fight.
Emma’s attacks and weapon can also be imbued with an element, and buildup is faster when both halves of the duo push the same one — a real reason to memorise which blade art and Nushi skill combos pair with your current bloom arts. Mods interact with this too: Polygon’s example is running the flame-imbued Higanbana bloom art for burn, then equipping the Rapid Cooling mod, which returns an entanglement point whenever you hit a burning enemy.
Healing, status effects, and hunger
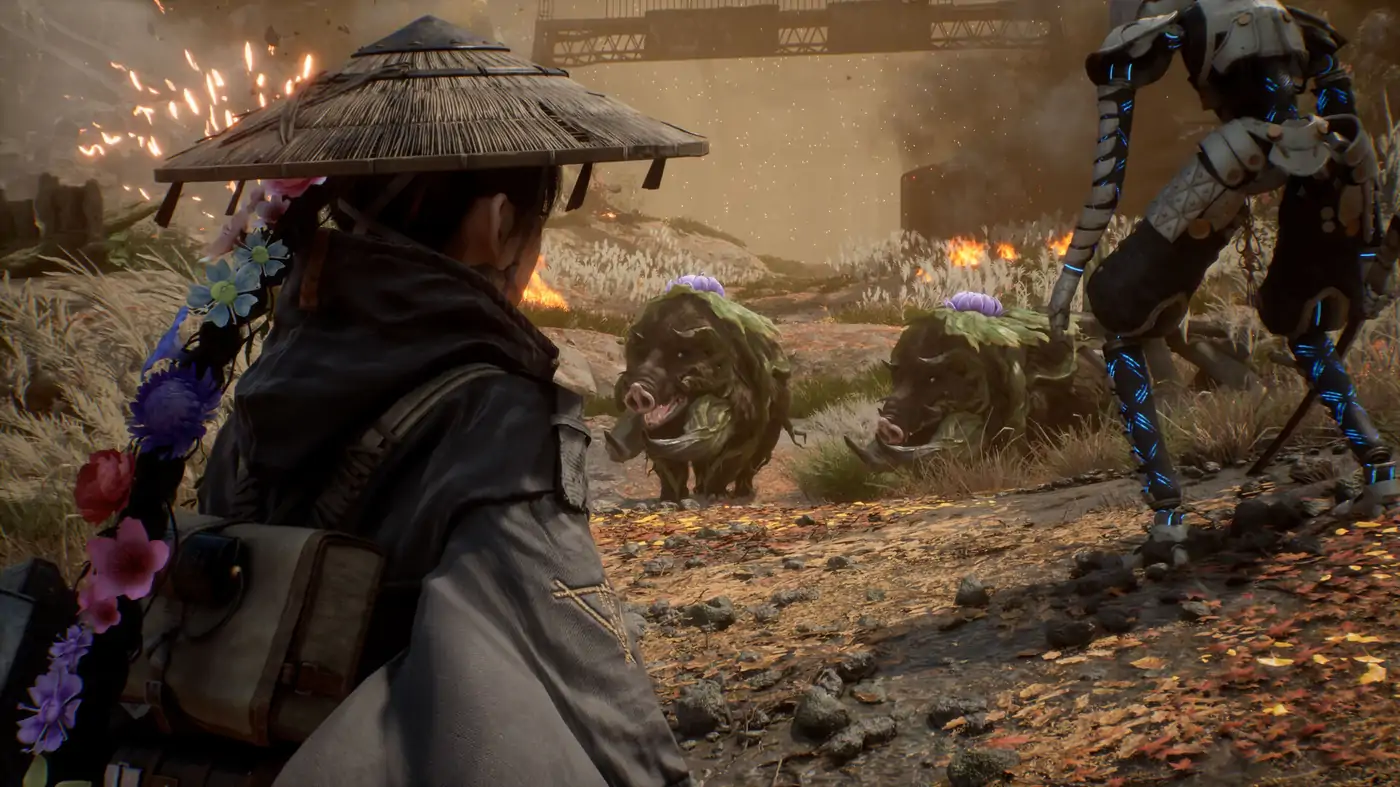
- Stimpacks are your in-combat heal. You carry three by default; dragon veil shrines raise that cap.
- Emergency medicine is the easy-to-miss one. Open Koo’s bloom arts menu and press the heal button (L2 on PS5, for example) to heal and clear status effects at once. Field stock is finite. ScreenRant notes a later mod, Healing Energy, that cures Emma’s status effects when Koo uses the matching bloom art.
- Campfires restore HP, stimpacks and emergency medicine — but they respawn every enemy in the area. Treat resting as a trade.
- Hunger is a passive system: as long as the hunger meter is not empty, Emma and Koo slowly regain HP out of combat with no campfire needed. Check it in the backpack (C on PC, down on controller).
Entanglement overdrive is not a super move
This is the mechanic most likely to disappoint you if you misread it. With the entanglement gauge full, hold Shift + middle mouse on PC or press both sticks on a controller to trigger entanglement overdrive. It slows time for a few seconds and nothing else — there is no special attack attached.
Because it consumes the bar, it competes directly with guarding, blade arts and Nushi skills. Save it for a specific problem: a telegraph you keep failing to dodge, or a window you need to heal in.
Traversal is a combat tool, not just navigation
Emma’s blight-stricken braid has two abilities you should master immediately:
- Lift — hold the jump button to rise, functioning like an extended double jump.
- Extend — grow her hair forward in a straight line to bridge gaps.
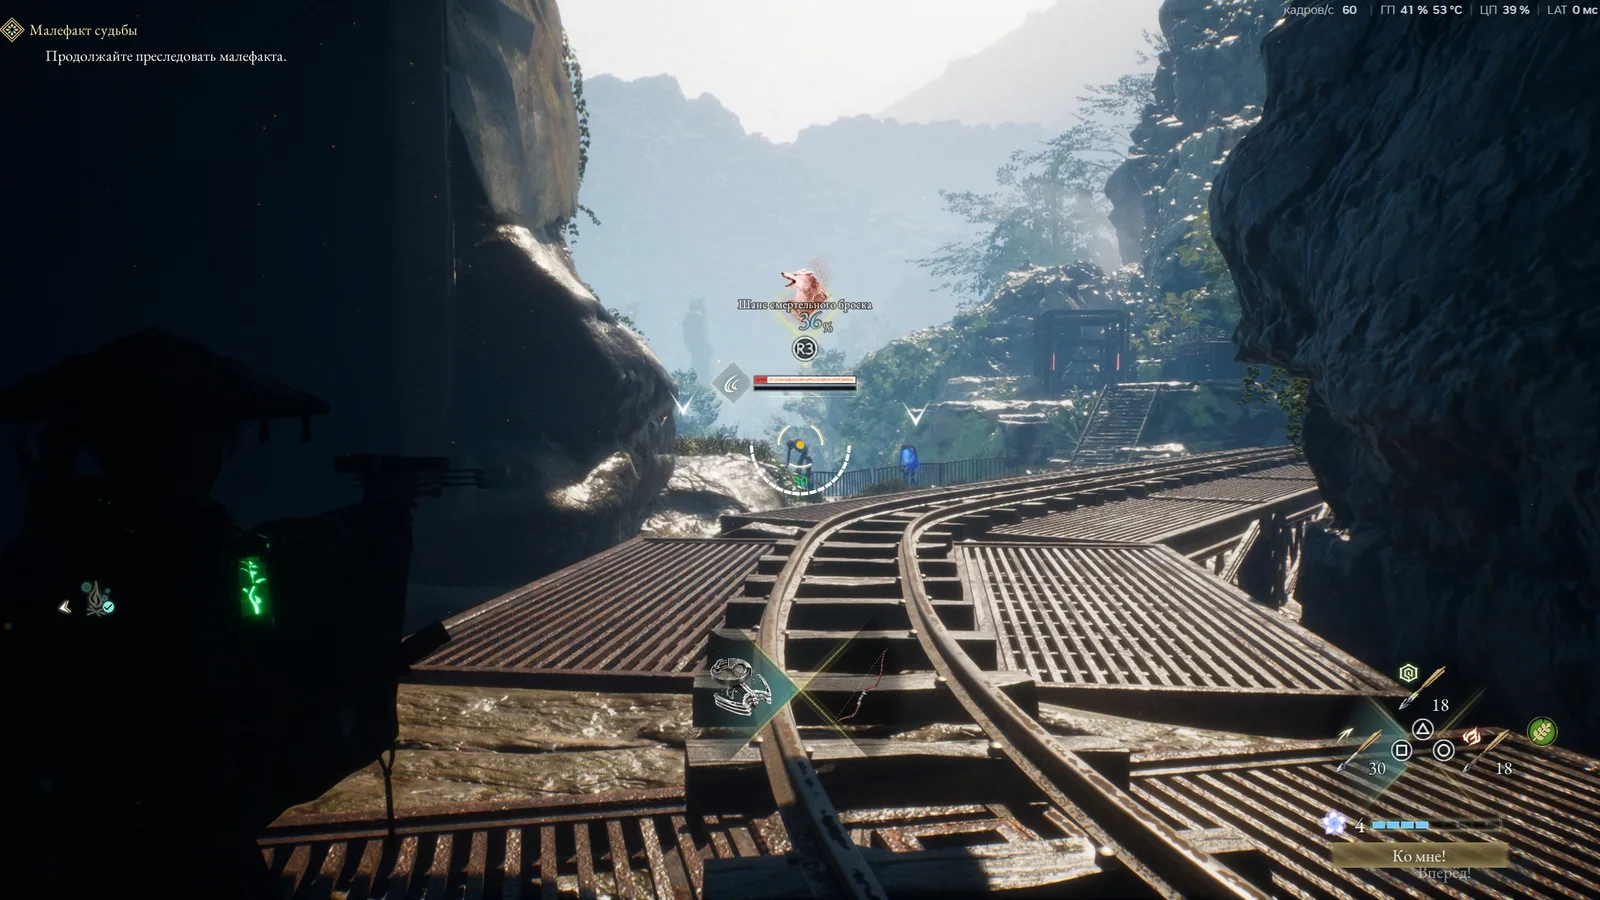
Both are movement options on paper and opening moves in practice. Extend a bridge over an enemy, walk out onto it and drop for an air assassination; or use Lift to climb above an enemy’s awareness range and fall on it. Crouching and approaching from behind works too. Kotaku makes the wider point that the level design consistently offers somewhere to climb to, so a fight you are not ready for is usually a fight you can decline — and height is also an excellent place to shoot from.
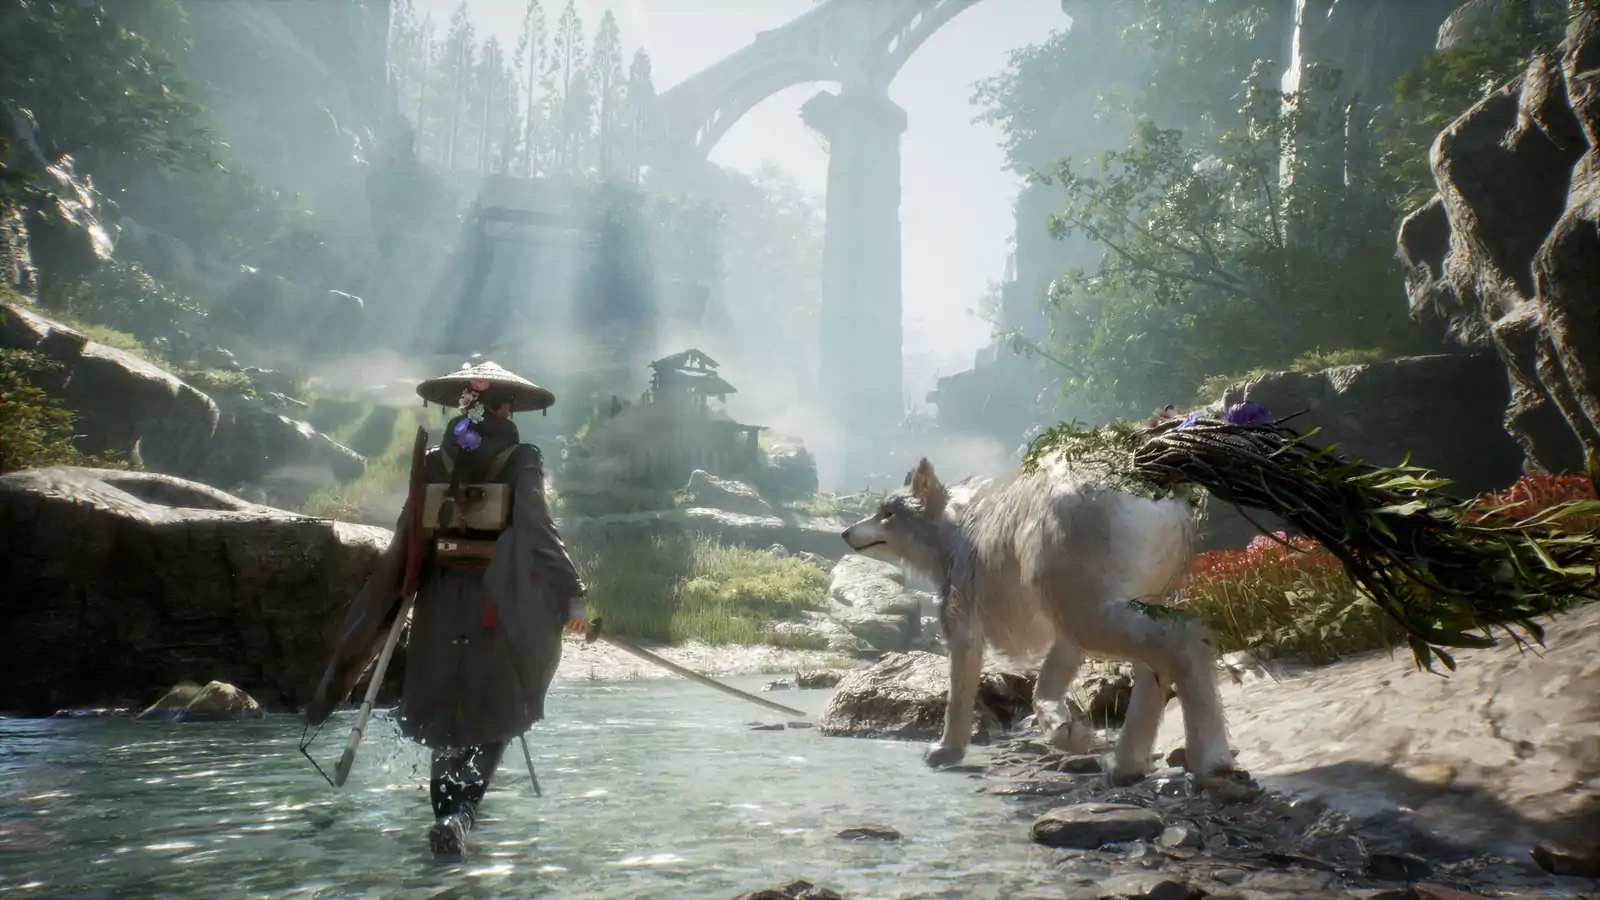
The Lift and Extend traversal guide expands this into a route-reading checklist for gaps, high ledges, campsites, Koo discoveries, and water boundaries.
Two blunt limits: Emma cannot swim, so fleeing into water just deposits you back on the shore with the enemies still waiting; and the environment does not care that you are outnumbered.
For ranged work Emma carries both a bow and a crossbow, swapped with 1 and 2 on PC or the left/right arrows on a controller. The crossbow fires quickly and suits live combat; the bow needs windup and suits sniping something that has not noticed you.
What to prioritise in your first few hours
- Take the dodge roll early. Emma’s starting side-step has a tight window and barely moves her. Kotaku recommends pushing down the Tracking Shot path on Emma’s skill tree to unlock a full dodge roll, and treating it as a priority rather than a nice-to-have.
- Find the campsite before you touch the boss. Most boss arenas have one nearby for resting, saving and applying upgrades, but not all are obvious. Locate it first or you fight without a checkpoint.
- Explore for Cleanse Walker materials. Weapon and projectile upgrades are gated behind your base’s level, and levelling the Cleanse Walker needs Generator Devices, Electronic Brains and Memory Chips found across each region. The equipment enhancement screen shows the base level a weapon needs next, so sweeping regions is a progression requirement, not optional completionism.
- Go home on purpose. Resting at the Walker restocks supplies, lets you check crops, and lets Koo and your young companion Kagura run research for more items — plus character scenes. Any campsite menu flags in the bottom-right corner when a companion has new dialogue.
- Let enemies fight each other. Wild factions do brawl; wait it out and you inherit one weakened group instead of two healthy ones.
Difficulty and language settings you should check now
The Steam listing carries an Adjustable Difficulty tag, and post-launch coverage names three settings: Story, Normal and Hard, switchable on the fly. Normal is a conventional Soulslike challenge where a few hits kill you. Story significantly reduces incoming damage — Kotaku’s caveat is that it is not a free ride: you still need to parry, dodge and exploit weaknesses, but it sharply cuts deaths against hard bosses.
One genuinely buried setting: the game ships with both Japanese and English full audio, but the English track has to be selected from the main menu, not the in-game pause menu, and nothing prompts you about it. Kotaku’s reviewer only discovered it during the credits. If you would rather not read subtitles during fights, change it before you start.
Launch-state notes
- The shipped launch build is version 1.0.6, following the final patch issued before release.
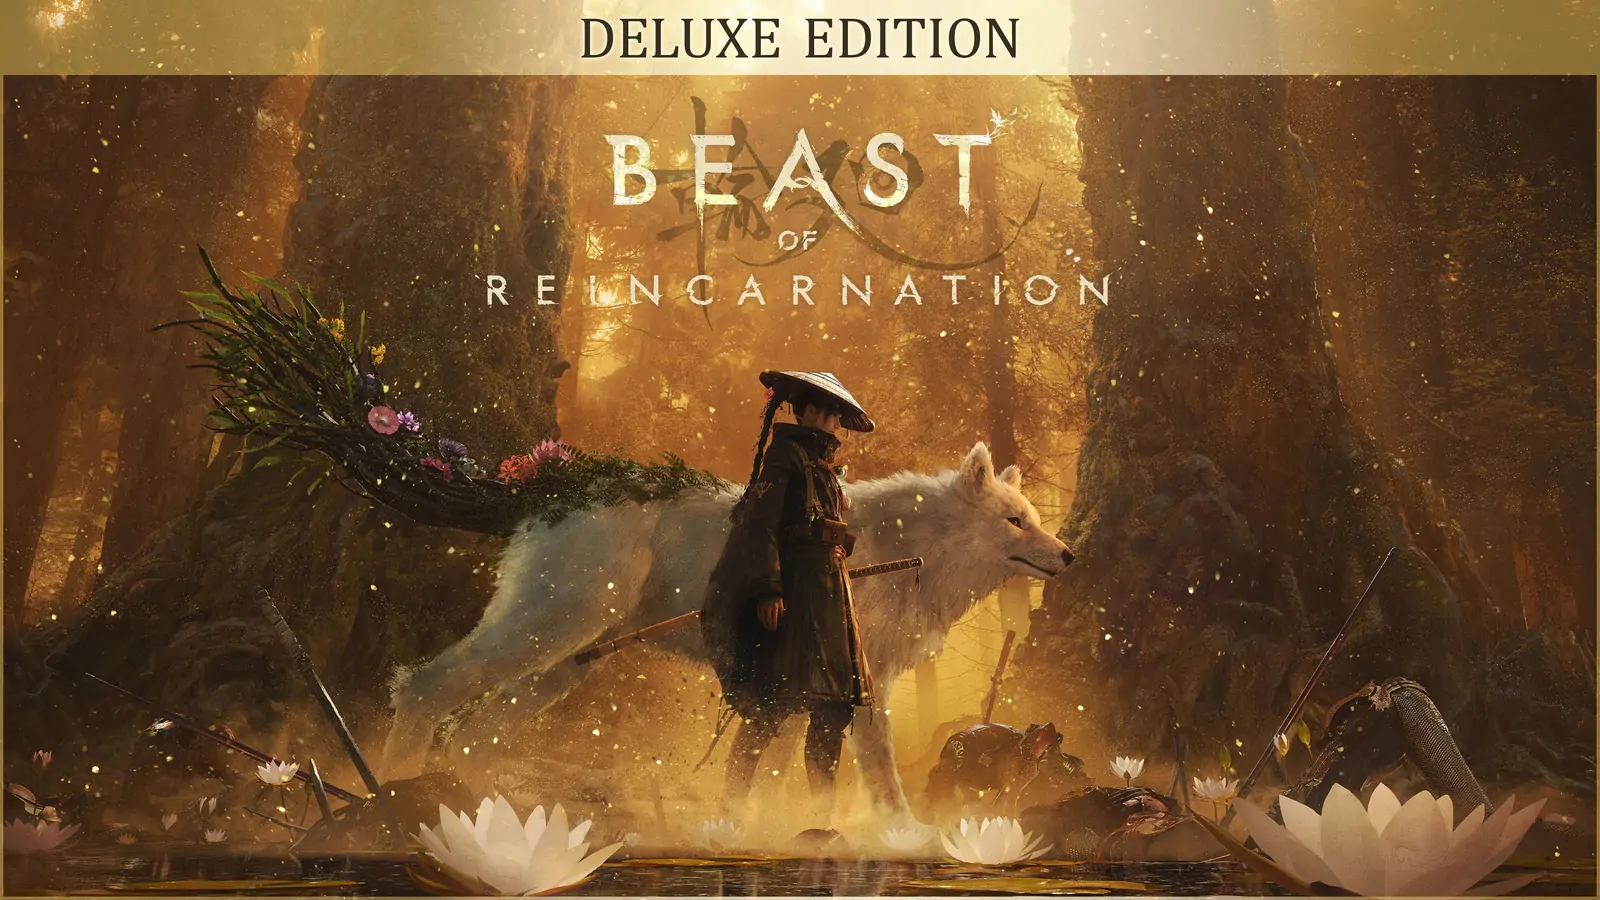
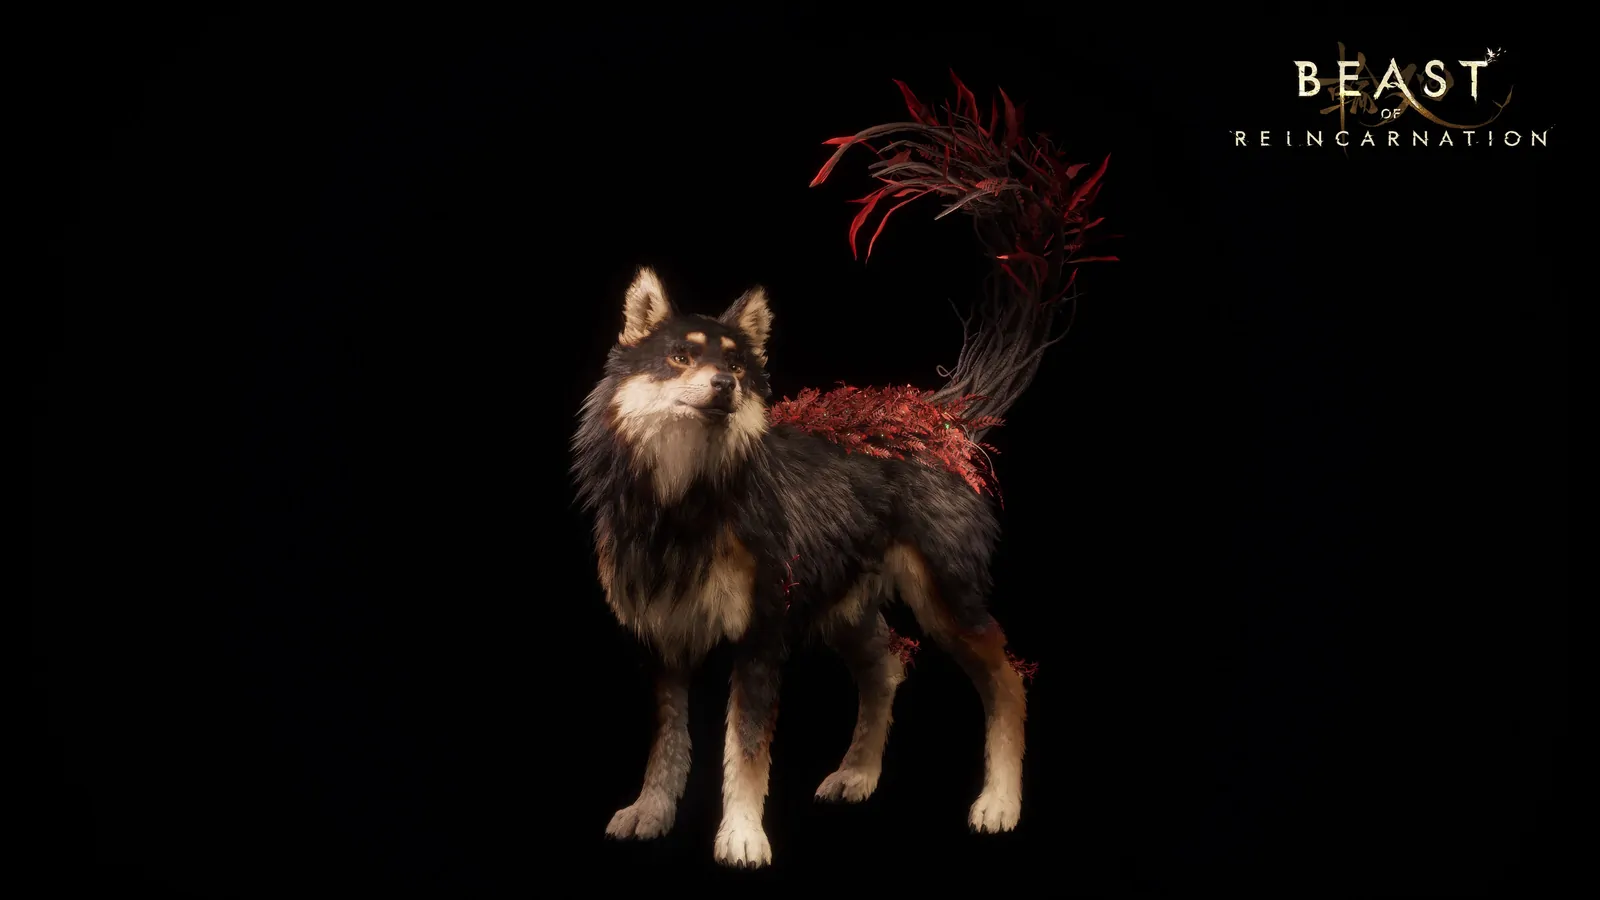
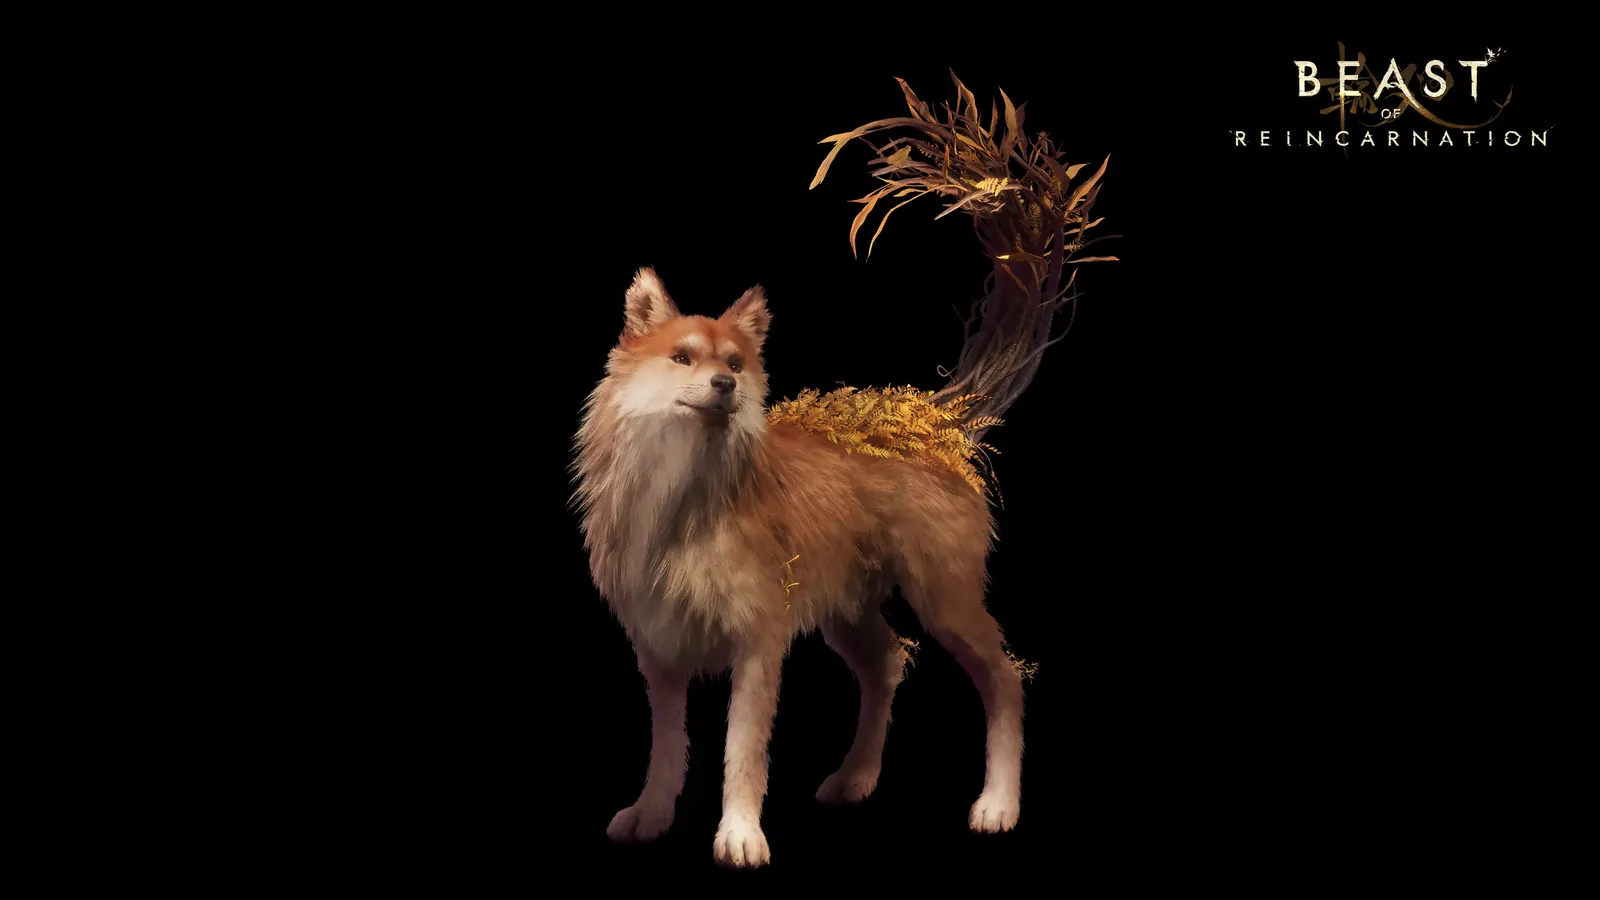
- A Deluxe upgrade DLC (App 4146830, $9.99) released alongside the game, so standard-edition buyers can add the Deluxe content afterwards. It contains black and brown Shiba skins for Koo, the “Oni’s Hat” for Emma, Emma’s sword “Big Dipper”, 100,000 Amber, and a set of vegetable seedlings.
- Fictions and Game Freak asked players to route feedback, questions and technical issues through the official threads pinned in the Steam forums so reports reach the team together.
- Reception is genuinely split. As of 4 August 2026 the Steam user reviews sat at Mixed — 193 positive out of 358 — which is worth knowing before you buy at full price. That number moves daily; check the store page rather than trusting this snapshot.
What we have not verified
We are not claiming a completed playthrough. Specifically unverified here: the full blade art and Nushi skill lists, complete skill tree layouts, every mod name and effect, boss counts and chapter structure, drop tables, and how much of the endgame changes on Hard. Where a detail came from one outlet’s playthrough rather than the store page or a developer post, that is stated in the sources below.
For a fight that is documented in detail, see the Rangifer Nushi guide. For the officially confirmed facts — release, platforms, Game Pass, price, specs — see the game info page, and for what the store page says about building Emma and Koo, progression and builds.
Where these details come from
- Developer/publisher, first-party. Steam announcement: “Beast of Reincarnation is Available Now” (4 August 2026) — 00:00 UTC unlock, version 1.0.6, Deluxe upgrade DLC, feedback threads. Store listing App 2001760 for price, Adjustable Difficulty and language support.
- Combat systems. Polygon’s Beast of Reincarnation combat guide by Marloes Valentina Stella (3 August 2026) — parry effects and inputs, FP vs entanglement, bloom art QTEs, blade arts and Nushi skills, elements, overdrive, stagger and daze, stealth and ranged options.
- Early-game priorities. Kotaku’s “10 Things To Know Before Playing” by Kenneth Shepard (3 August 2026) — English audio in the main menu, Tracking Shot dodge roll, scouting campsites, resting at the Walker, Kagura, Story difficulty, Emma cannot swim.
- Builds and base upgrades. ScreenRant’s “5 Early Game Starter Tips” by Billy Givens (3 August 2026) — Lift and Extend, skill mod trees, Emergency Medicine and Healing Energy, Cleanse Walker materials, the Story/Normal/Hard difficulty range.
Need confirmed facts instead?
For release date, combat pillars, pricing, and PC specs, start with the official game info page. Editorial rules are on the disclaimer.