Beast of Reincarnation Wasteland Colossal Boss: Large Nushi Guide
Beast of Reincarnation Wasteland Colossal boss guide: use Rangifer's fire weakness, hair-bridge opener, red-glow escape and phase-two trees.
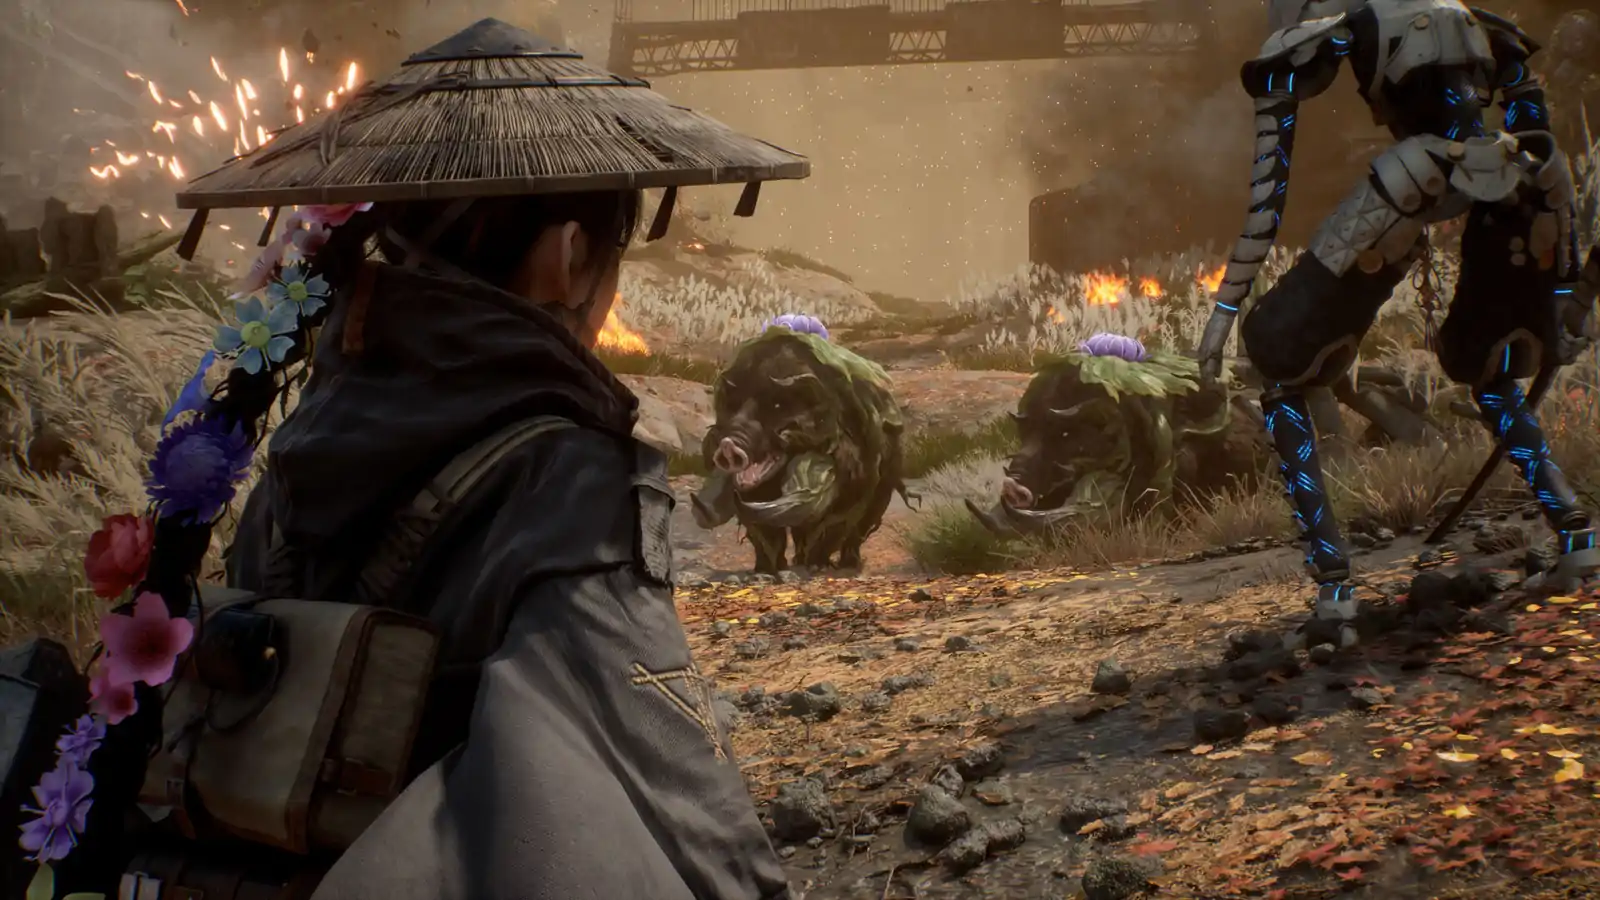
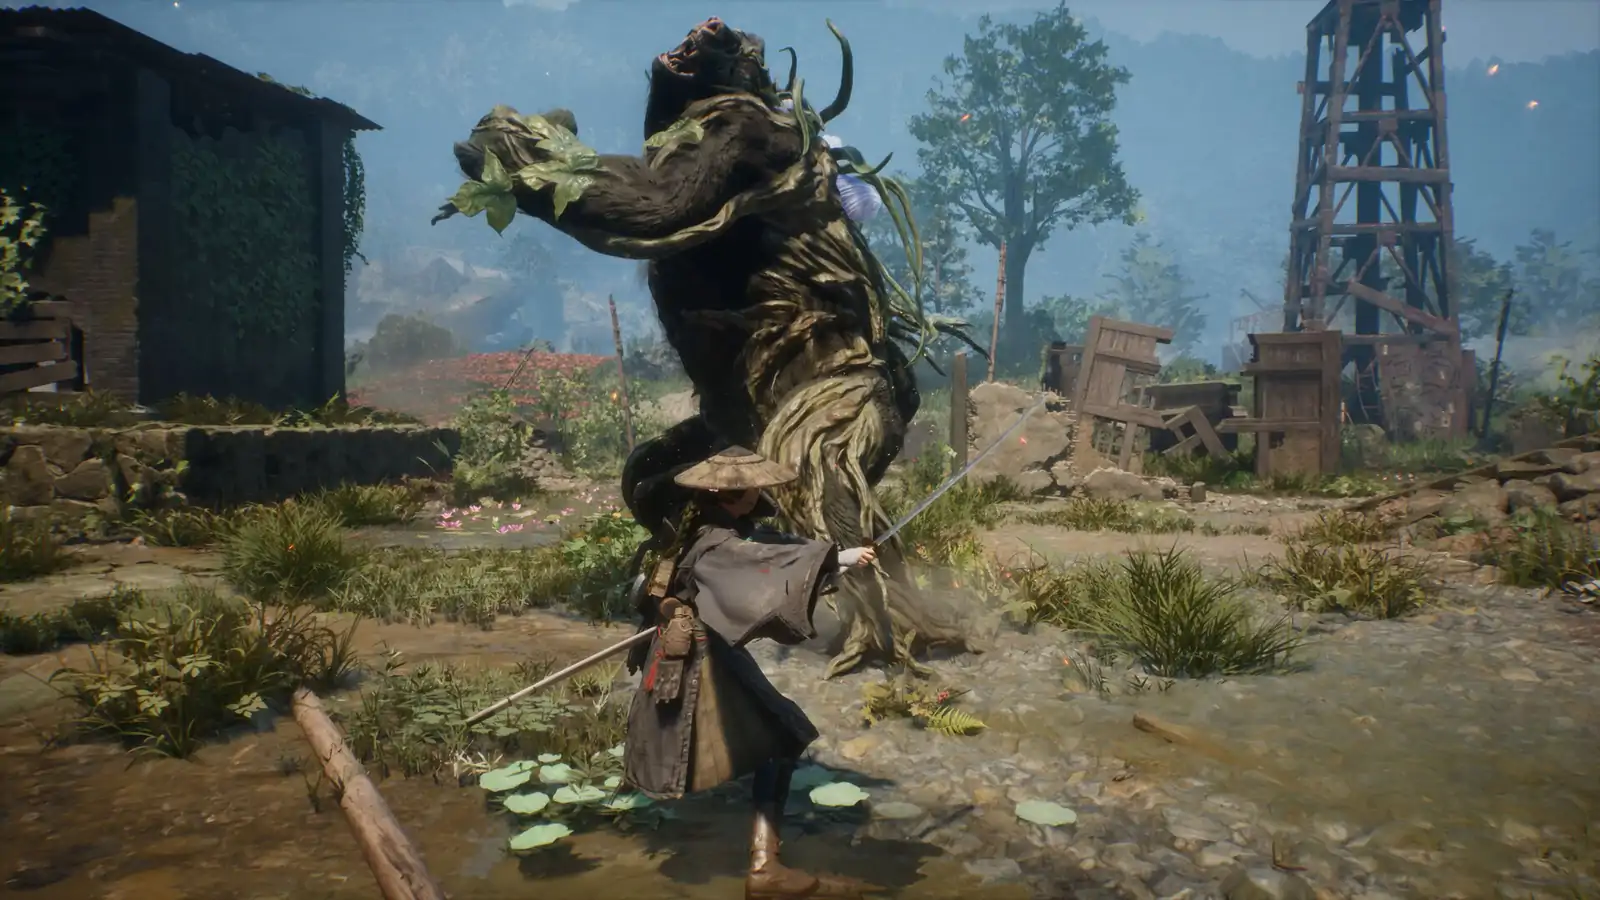
Searches for Beast of Reincarnation Wasteland Colossal Boss often point to the large creature artwork. The released-game encounter that has a complete public strategy is Rangifer, a Nushi fought twice. “Wasteland Colossal” is kept as a search phrase here, not presented as a separate confirmed in-game boss name.
Rangifer quick reference
| Encounter | Boss level | Suggested player level | Stages | Weakness |
|---|---|---|---|---|
| Prowling Nushi crater fight | 9 | 6–7 | One | Fire |
| Sealed lair rematch | 12 | 10+ | Two | Fire; more resistant to Burn |
The first fight is useful practice for the lair. Between attempts, spend time on weapon upgrades and an Amber route rather than repeating an under-levelled run.
Take the high-ground opener
The first arena has a tall central building with a campsite and armour above it. Activate the campsite before starting the fight. Use Emma’s Extend hair bridge to reach the high ground, then drop for an air assassination. This removes a large opening portion of the boss’s health and gives you room to set the pace.
Keep ranged ammunition for the approach and the moments when Rangifer is out of reach. Height is especially valuable because many of its attacks are aimed at Emma on the ground.
Use fire, but do not rely on Burn alone
Rangifer is weak to fire in both encounters. Higanbana: Seeds is the useful Koo option because it delivers fiery projectiles and can build Burn. The second fight keeps the fire weakness but is more resistant to the Burn status, so raw fire damage matters more than waiting for damage-over-time ticks.
For Emma, Fire Arrows provide another fire option after the relevant shop progression. Read the current Bloom Art weakness marker before spending FP; an element is not automatically correct for every enemy in the arena.
Parry the normal antler swing
The regular antler swing is parryable. A successful parry creates the safest close-range opening: Rangifer’s head lowers, Emma gains combat resources and Koo can spend the resulting FP on fire. Attack after the parry, then return to a defensive position rather than extending a long string into the next tell.
Escape the red-glow combo
When Rangifer glows red, expect four antler sweeps followed by a stomp. Do not trade with it. Bind it with Koo if the command is available, use previously created grapple points, or evade repeatedly until the sequence ends.
The rear-and-stomp attack creates a small area impact with roots rising from the ground. Move away from the feet. When Rangifer summons trees, leave the red ground circles; in the lair’s second stage, some of the longer-lasting non-damaging trees can also become grapple points.
What changes in the rematch
The sealed-lair fight adds a second health bar after the first is depleted. Treat the arena’s summoned trees as part of your mobility plan and keep an escape route visible before committing to fire or a melee punish. The lair is longer and punishes a build that only plans for one short damage window.
For the full first-boss route, rewards and both encounters, continue to the Beast of Reincarnation Rangifer Nushi guide. For the mechanics behind stagger and boss daze, use weakness, stagger and daze.
What is not being claimed
The public strategy data does not establish a separate boss officially named Wasteland Colossal, exact HP values, universal phase thresholds or a complete drop table. Use the named Rangifer encounter above for the actionable released-game answer, and do not transfer its weakness to an unnamed creature without checking the target UI.
Need confirmed facts instead?
For release date, combat pillars, pricing, and PC specs, start with the official game info page. Editorial rules are on the disclaimer.