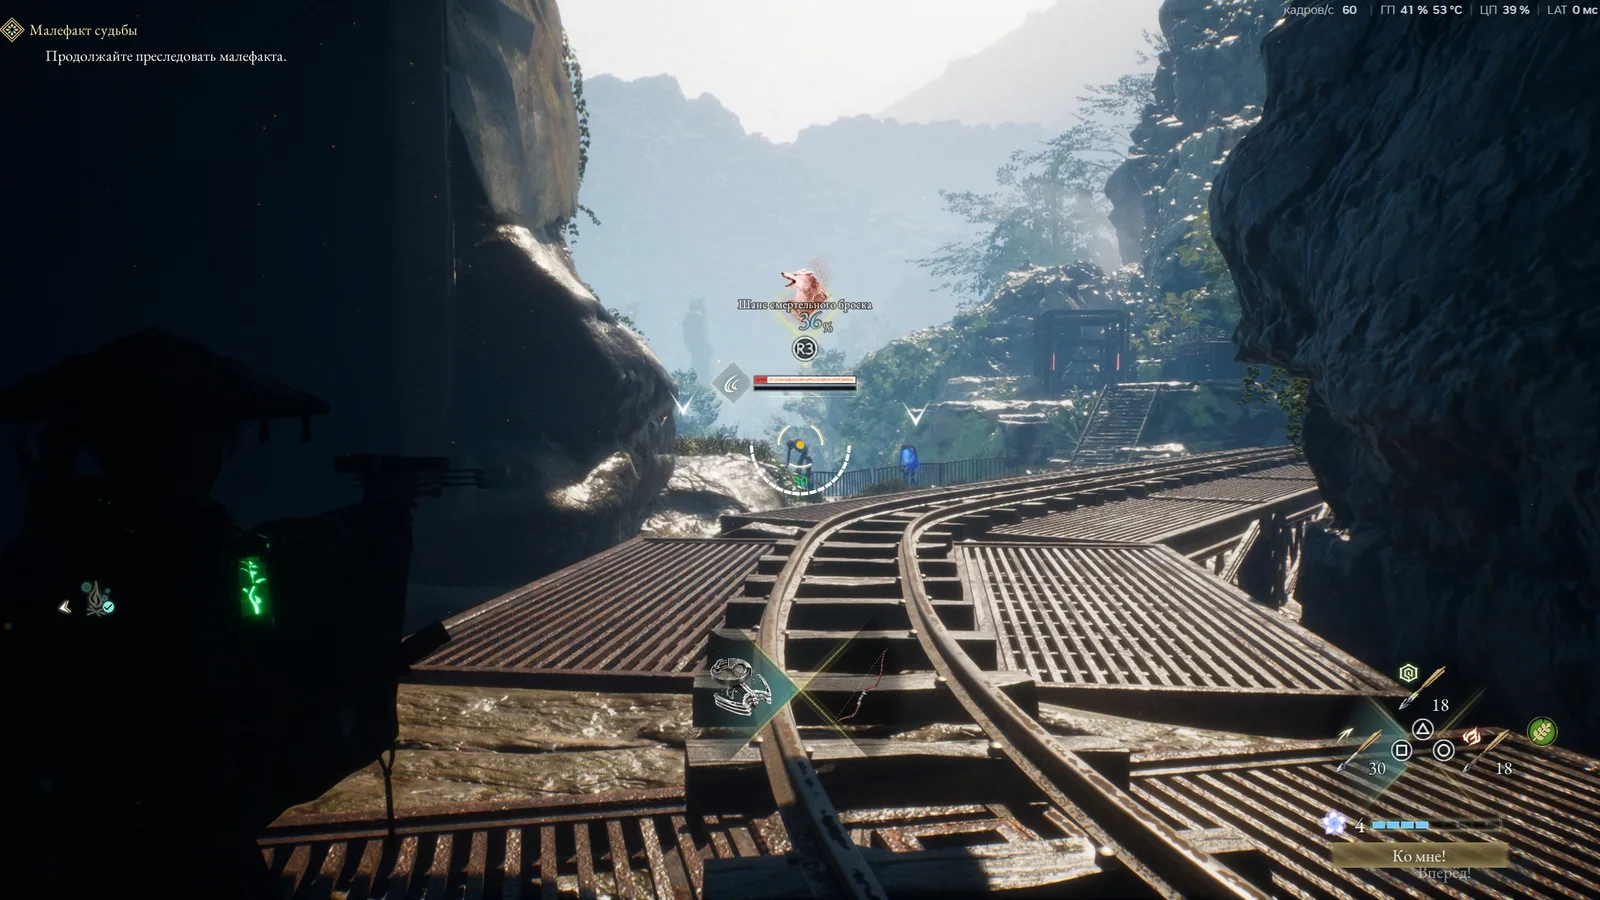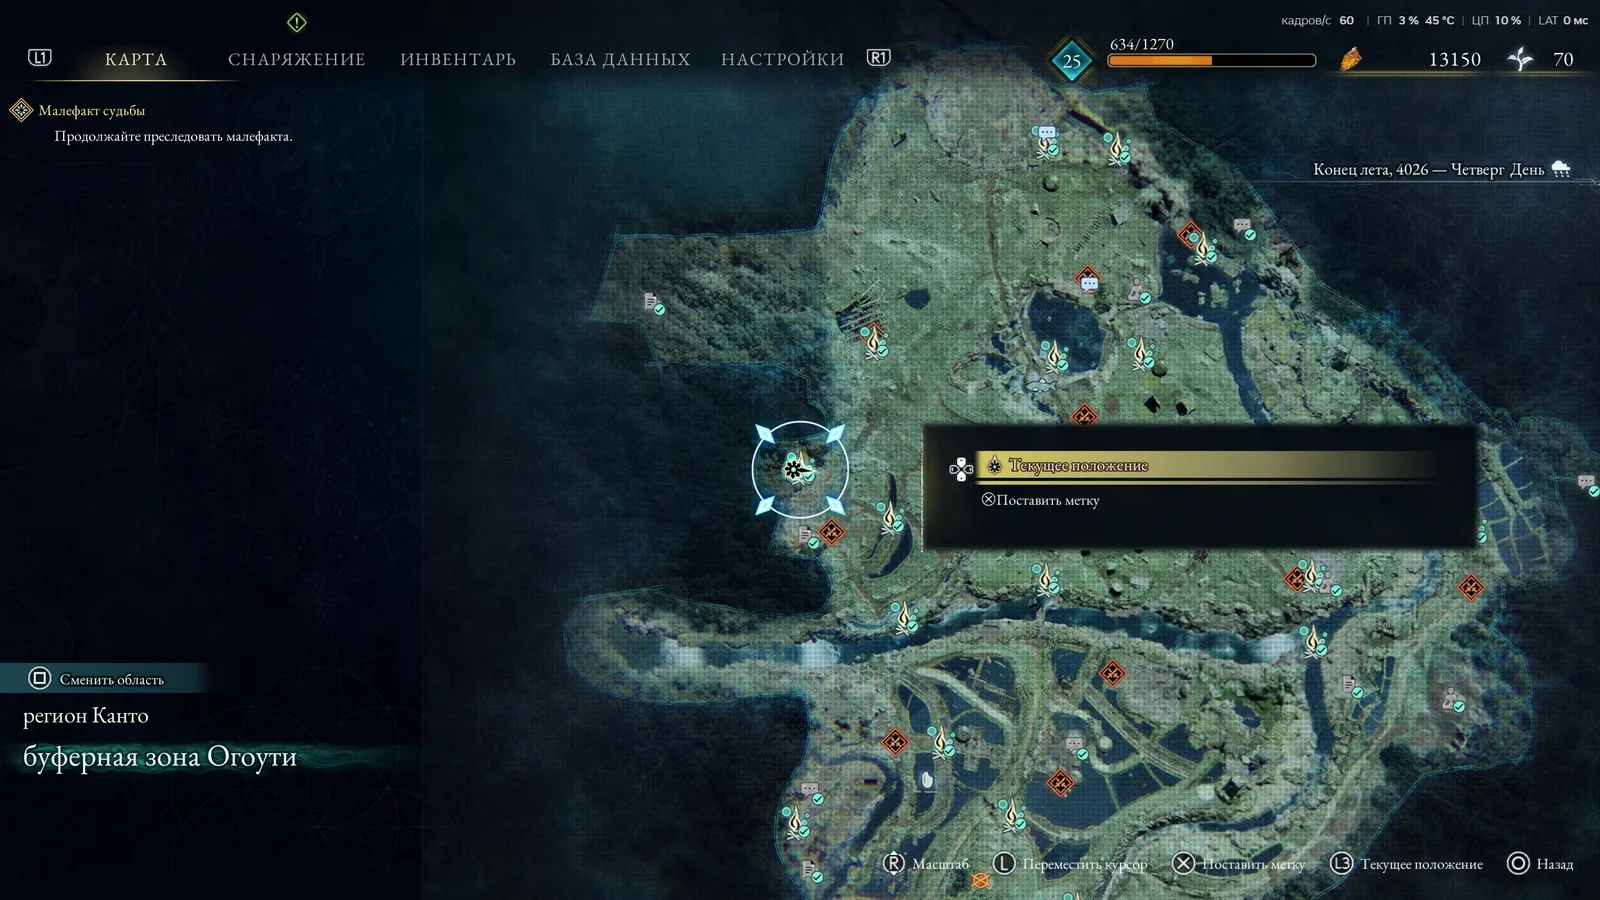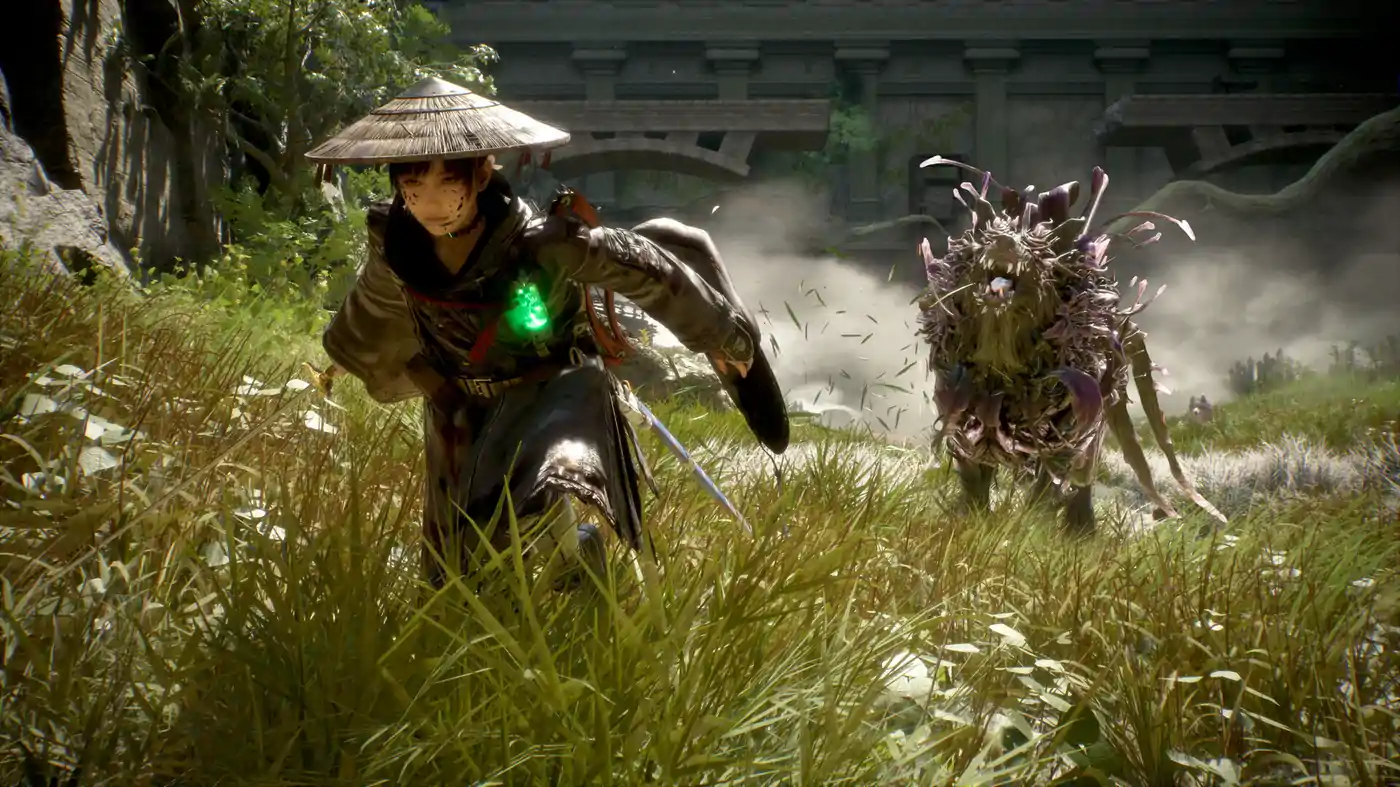
Beast of Reincarnation First Hours: Build the Habits That Carry the Run
A practical first-hours route for Beast of Reincarnation: parry for resources, unlock the dodge roll, use Koo's bloom arts, and upgrade the Cleanse Walker.
The opening hours of Beast of Reincarnation are easier once you understand what the game is rewarding. The most valuable early habit is not spending every resource on damage: it is learning to parry, then turning the resources that parry creates into Koo’s bloom arts, Emma’s blade arts, and safer upgrades.
This is a post-launch guide for the shipped 1.0.6 build. The inputs and system details below are compiled from launch-week hands-on combat coverage and the official launch information. For the complete controls and status interactions, keep the beginner’s systems guide open as a reference.
1. Learn the parry before buying damage
On PC, parry with Q; on a controller it is LB / L1. Press it shortly before an attack lands. A successful parry does four jobs at once:
- It negates the hit.
- It gives florescence points (FP) for Koo’s bloom arts.
- It gives entanglement points for guarding, blade arts, Nushi skills, and overdrive.
- It activates the current weapon effect on Emma’s blade.
If the timing is early, the same input becomes a guard. Guarding spends the entanglement gauge and gives no FP, so it should be your fallback while you learn a new attack, not your default answer to every swing. When the enemy flashes red during its wind-up, the attack cannot be parried or guarded. Dodge with Ctrl on keyboard or B / Circle on a controller, then counterattack.
The simplest practice loop is: face one enemy, wait for one readable attack, parry once, and immediately follow with a normal attack for the riposte. Do not add a bloom art until you can tell the difference between a yellow-spark parry and a plain guard.
Use the parry, guard, dodge and controls guide for the full default input table, red-attack response, and a five-minute practice routine.
2. Use the two bars for different jobs
The game has two resources that both benefit from successful parries but are spent differently.
| Resource | Spend it on | Early rule |
|---|---|---|
| FP | Koo’s bloom arts | Save enough for a weakness-matching art or emergency heal. |
| Entanglement gauge | Guarding, Emma’s blade arts, Nushi skills, and overdrive | Keep a reserve instead of holding guard through a whole combo. |
The first chunk of entanglement also refills over time, but FP does not. A player who only dodges can still use some blade arts; a player who never parries will leave Koo’s strongest tools unavailable. This is why the opening area is a tutorial in timing even when the enemies look harmless.
3. Unlock movement before chasing a damage build
Make the full dodge roll an early target. Emma’s starting side-step has a narrow window and does not create much distance. Launch coverage identifies the Tracking Shot path in Emma’s skill tree as the route to the full roll. The extra repositioning is more valuable in the first boss and in crowded machine encounters than a small early damage increase.
The same principle applies to exploration. Emma’s blight-stricken braid provides Lift, an extended vertical jump, and Extend, a straight bridge across gaps. Use both to reach campsites, high ground, and optional materials before committing to a difficult fight. Height can also set up an air assassination, so movement upgrades improve damage indirectly.
4. Treat Koo’s bloom arts as a rotation
Open Koo’s bloom arts with F on PC, Y on Xbox, or Triangle on PlayStation. Time slows while the menu is open but the game does not fully pause. Every bloom art has a quick-time prompt: hit inside the yellow arc for the strongest result.
Three rules matter immediately:
- A successful QTE restores some of Emma’s HP, so bloom arts are also a healing tool.
- A double QTE can return entanglement to Emma.
- You cannot use the same bloom art twice in a row, so choose two or three complementary arts instead of spamming one button.
When FP is full, Koo’s bloom effect receives the full bonus reported in launch coverage: 100 percent more damage and 50 percent more stagger. Check the enemy weakness next to its HP bar and look for the weak marker in the bloom-art menu before spending FP.
5. Follow this first-upgrade order
This is a practical priority list, not a permanent tier list:
- Full dodge roll: take Tracking Shot early so missed parry timings do not automatically become damage taken.
- One reliable bloom-art QTE: practise the timing on ordinary enemies before spending FP in a boss arena.
- A simple Emma blade art: start with a low-input art such as Shakuyaku, then add a second option once its entanglement cost is comfortable.
- Cleanse Walker capacity and level materials: collect Generator Devices, Electronic Brains, and Memory Chips while exploring. Weapon and projectile upgrades are gated by the Walker’s level.
- Element and mod coverage: match Koo’s element to Emma’s blade art when the enemy weakness makes it worthwhile. Do not buy every mod just because it is available.
The progression and builds page explains which systems are confirmed and which numbers remain unpublished. In the shipped game, you can respec Koo after meeting the relevant NPC, so the first build does not need to be perfect.
The Cleanse Walker upgrade materials guide covers the three confirmed material names, deposit loop, and equipment-screen gate without claiming a complete item map.
6. Find the campsite before the boss
Before entering a boss arena, look for the nearby campsite and check the equipment enhancement screen. Resting restores HP and supplies, but it also respawns enemies in the area. That trade is worth making before a boss because the campsite gives you a checkpoint and a clean chance to apply Walker upgrades.
Use the route back to the arena as a test run. If you spend all your FP and emergency medicine clearing the path, the boss is telling you to change the route, use stealth, or let hostile groups fight one another. The Nushi boss guide covers the kind of preparation that matters for a documented fight.
What this guide does not claim
The complete skill tree, every mod effect, full boss list, and endgame differences between Story, Normal, and Hard are not reproduced here as if they were fully verified. Enemy-specific weaknesses should be checked against the HP-bar indicator in your current build. This page focuses on repeatable first-hours habits, not a finished-game tier list.
Sources
- Beast of Reincarnation on Steam - official store description, release build context, difficulty tag, and media gallery; checked 2026-08-05.
- Official launch announcement - version 1.0.6, launch date, Deluxe upgrade, and official feedback route; checked 2026-08-05.
- Polygon combat guide - launch-week hands-on details for parries, resources, bloom-art QTEs, elements, stagger, and controls; checked 2026-08-05.
- Kotaku early tips and ScreenRant starter tips - early dodge, campsite, Walker, and skill-mod observations; checked 2026-08-05.
Need confirmed facts instead?
For release date, combat pillars, pricing, and PC specs, start with the official game info page. Editorial rules are on the disclaimer.